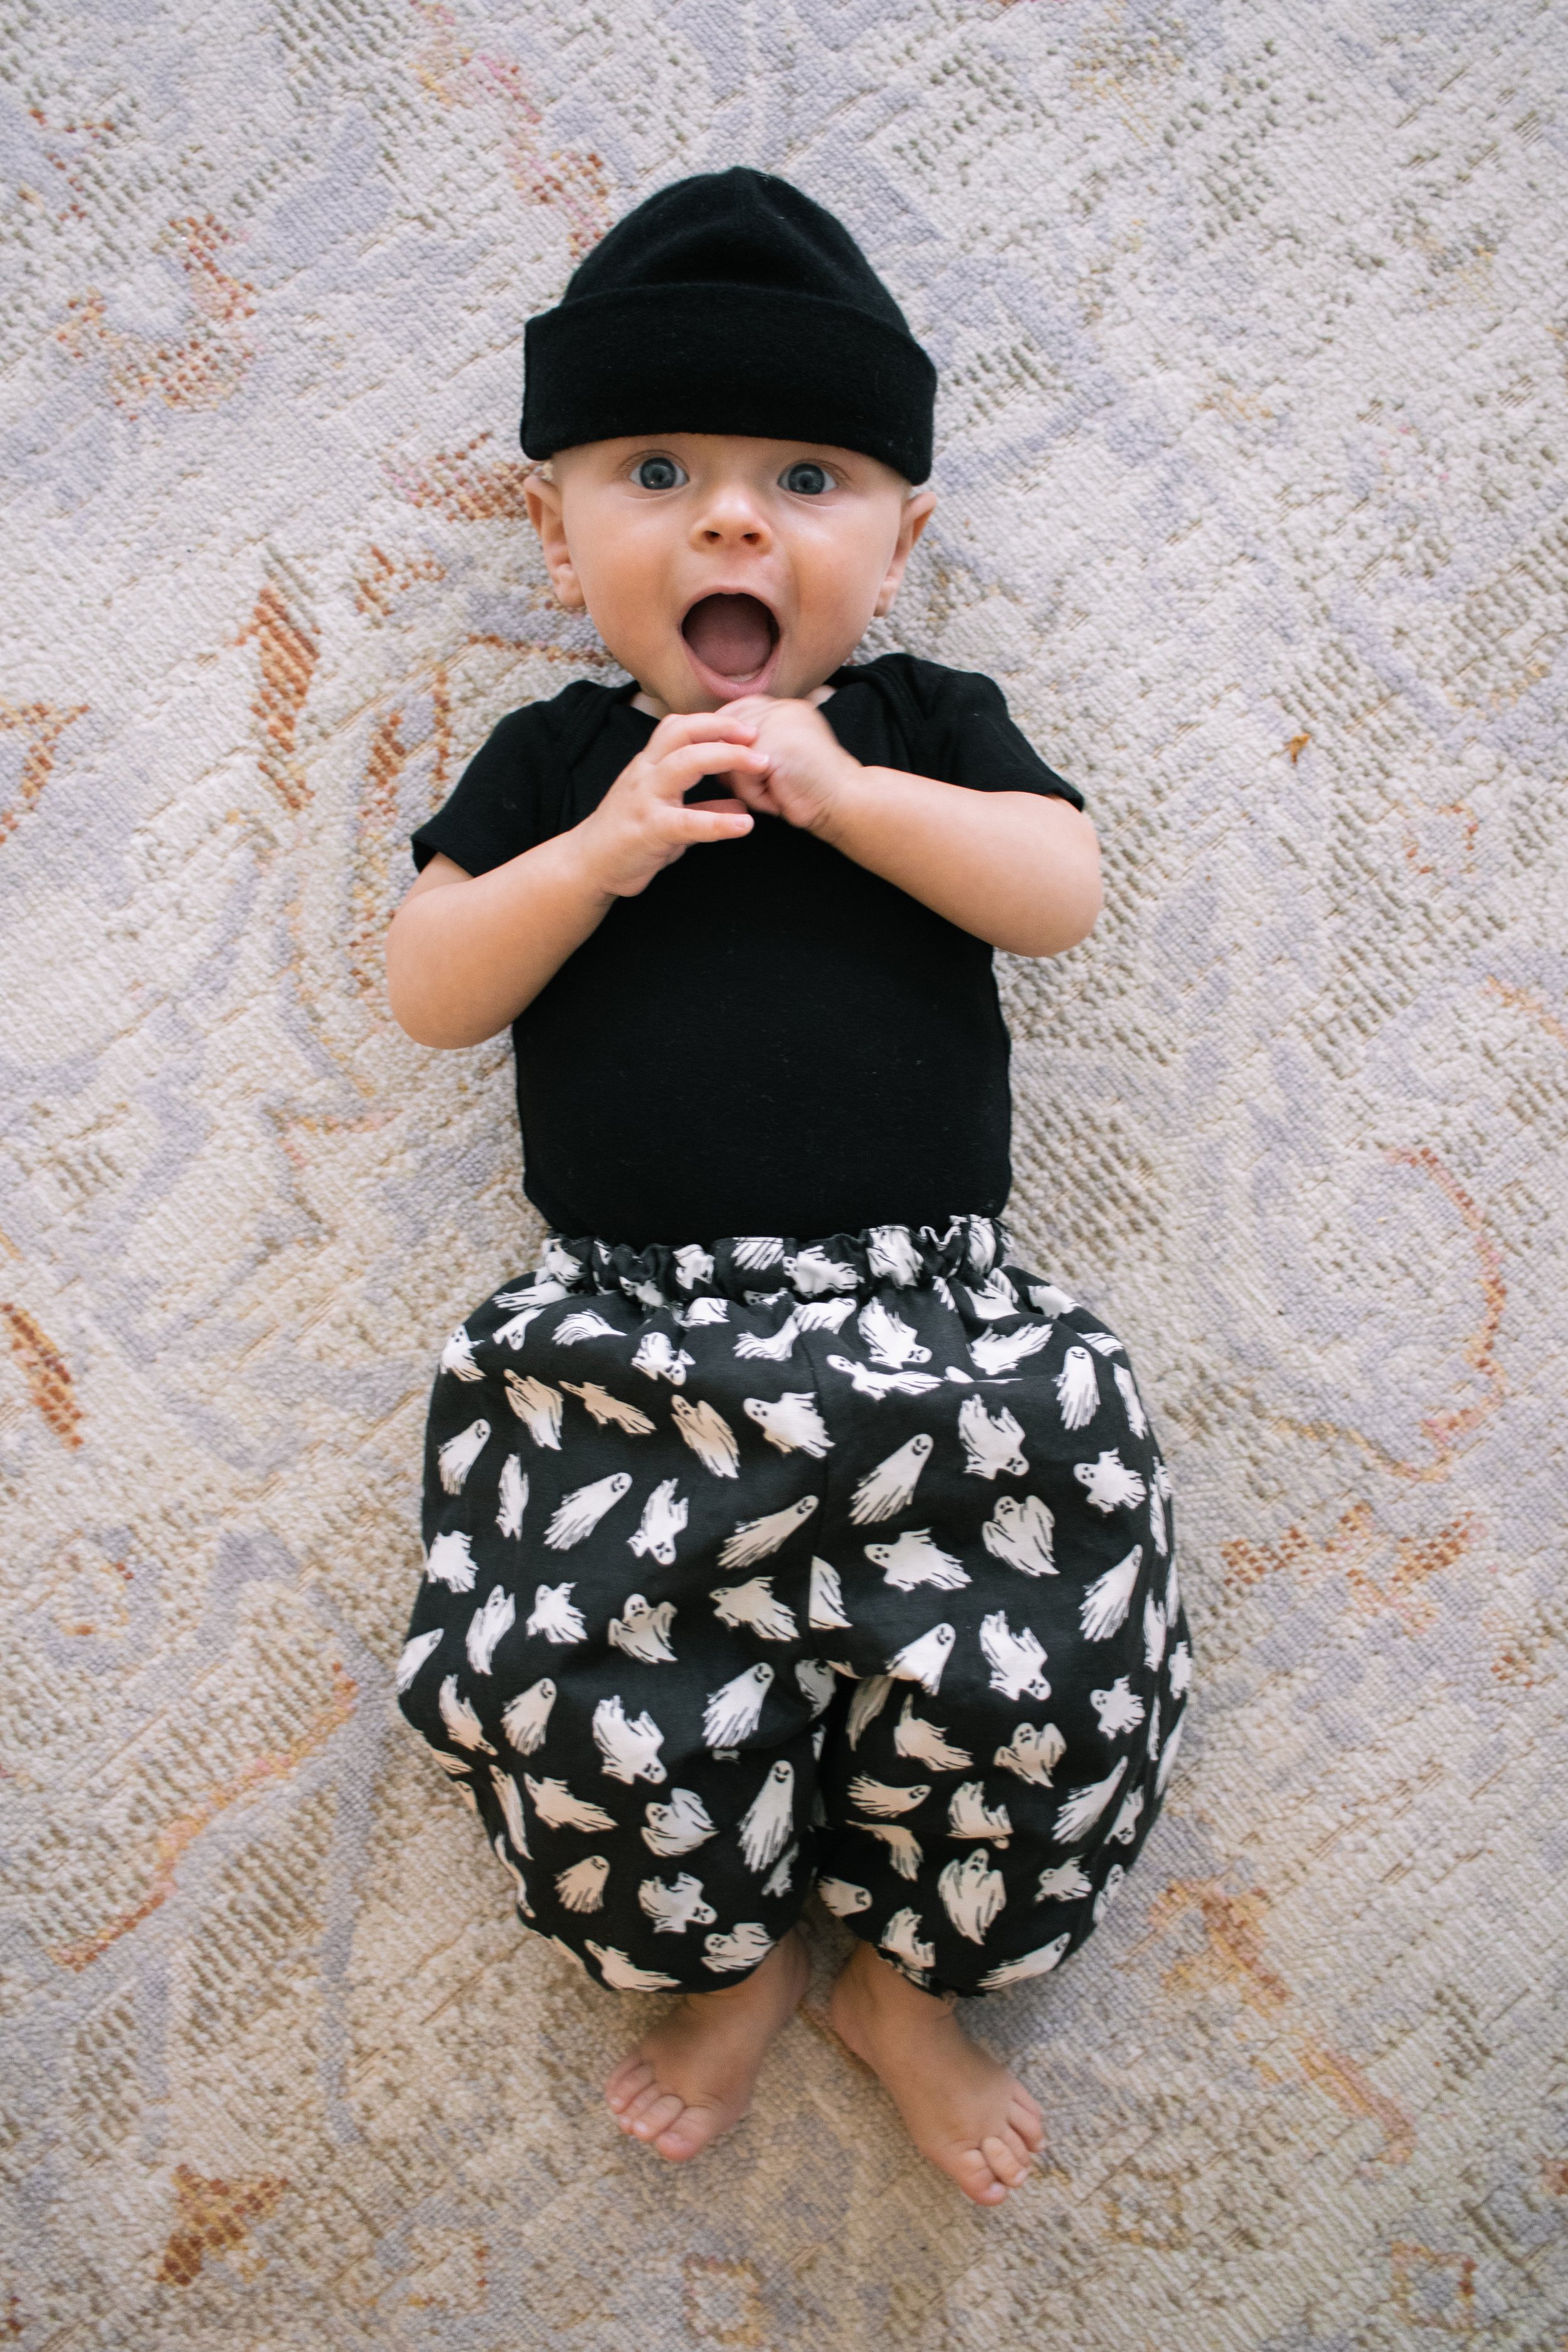
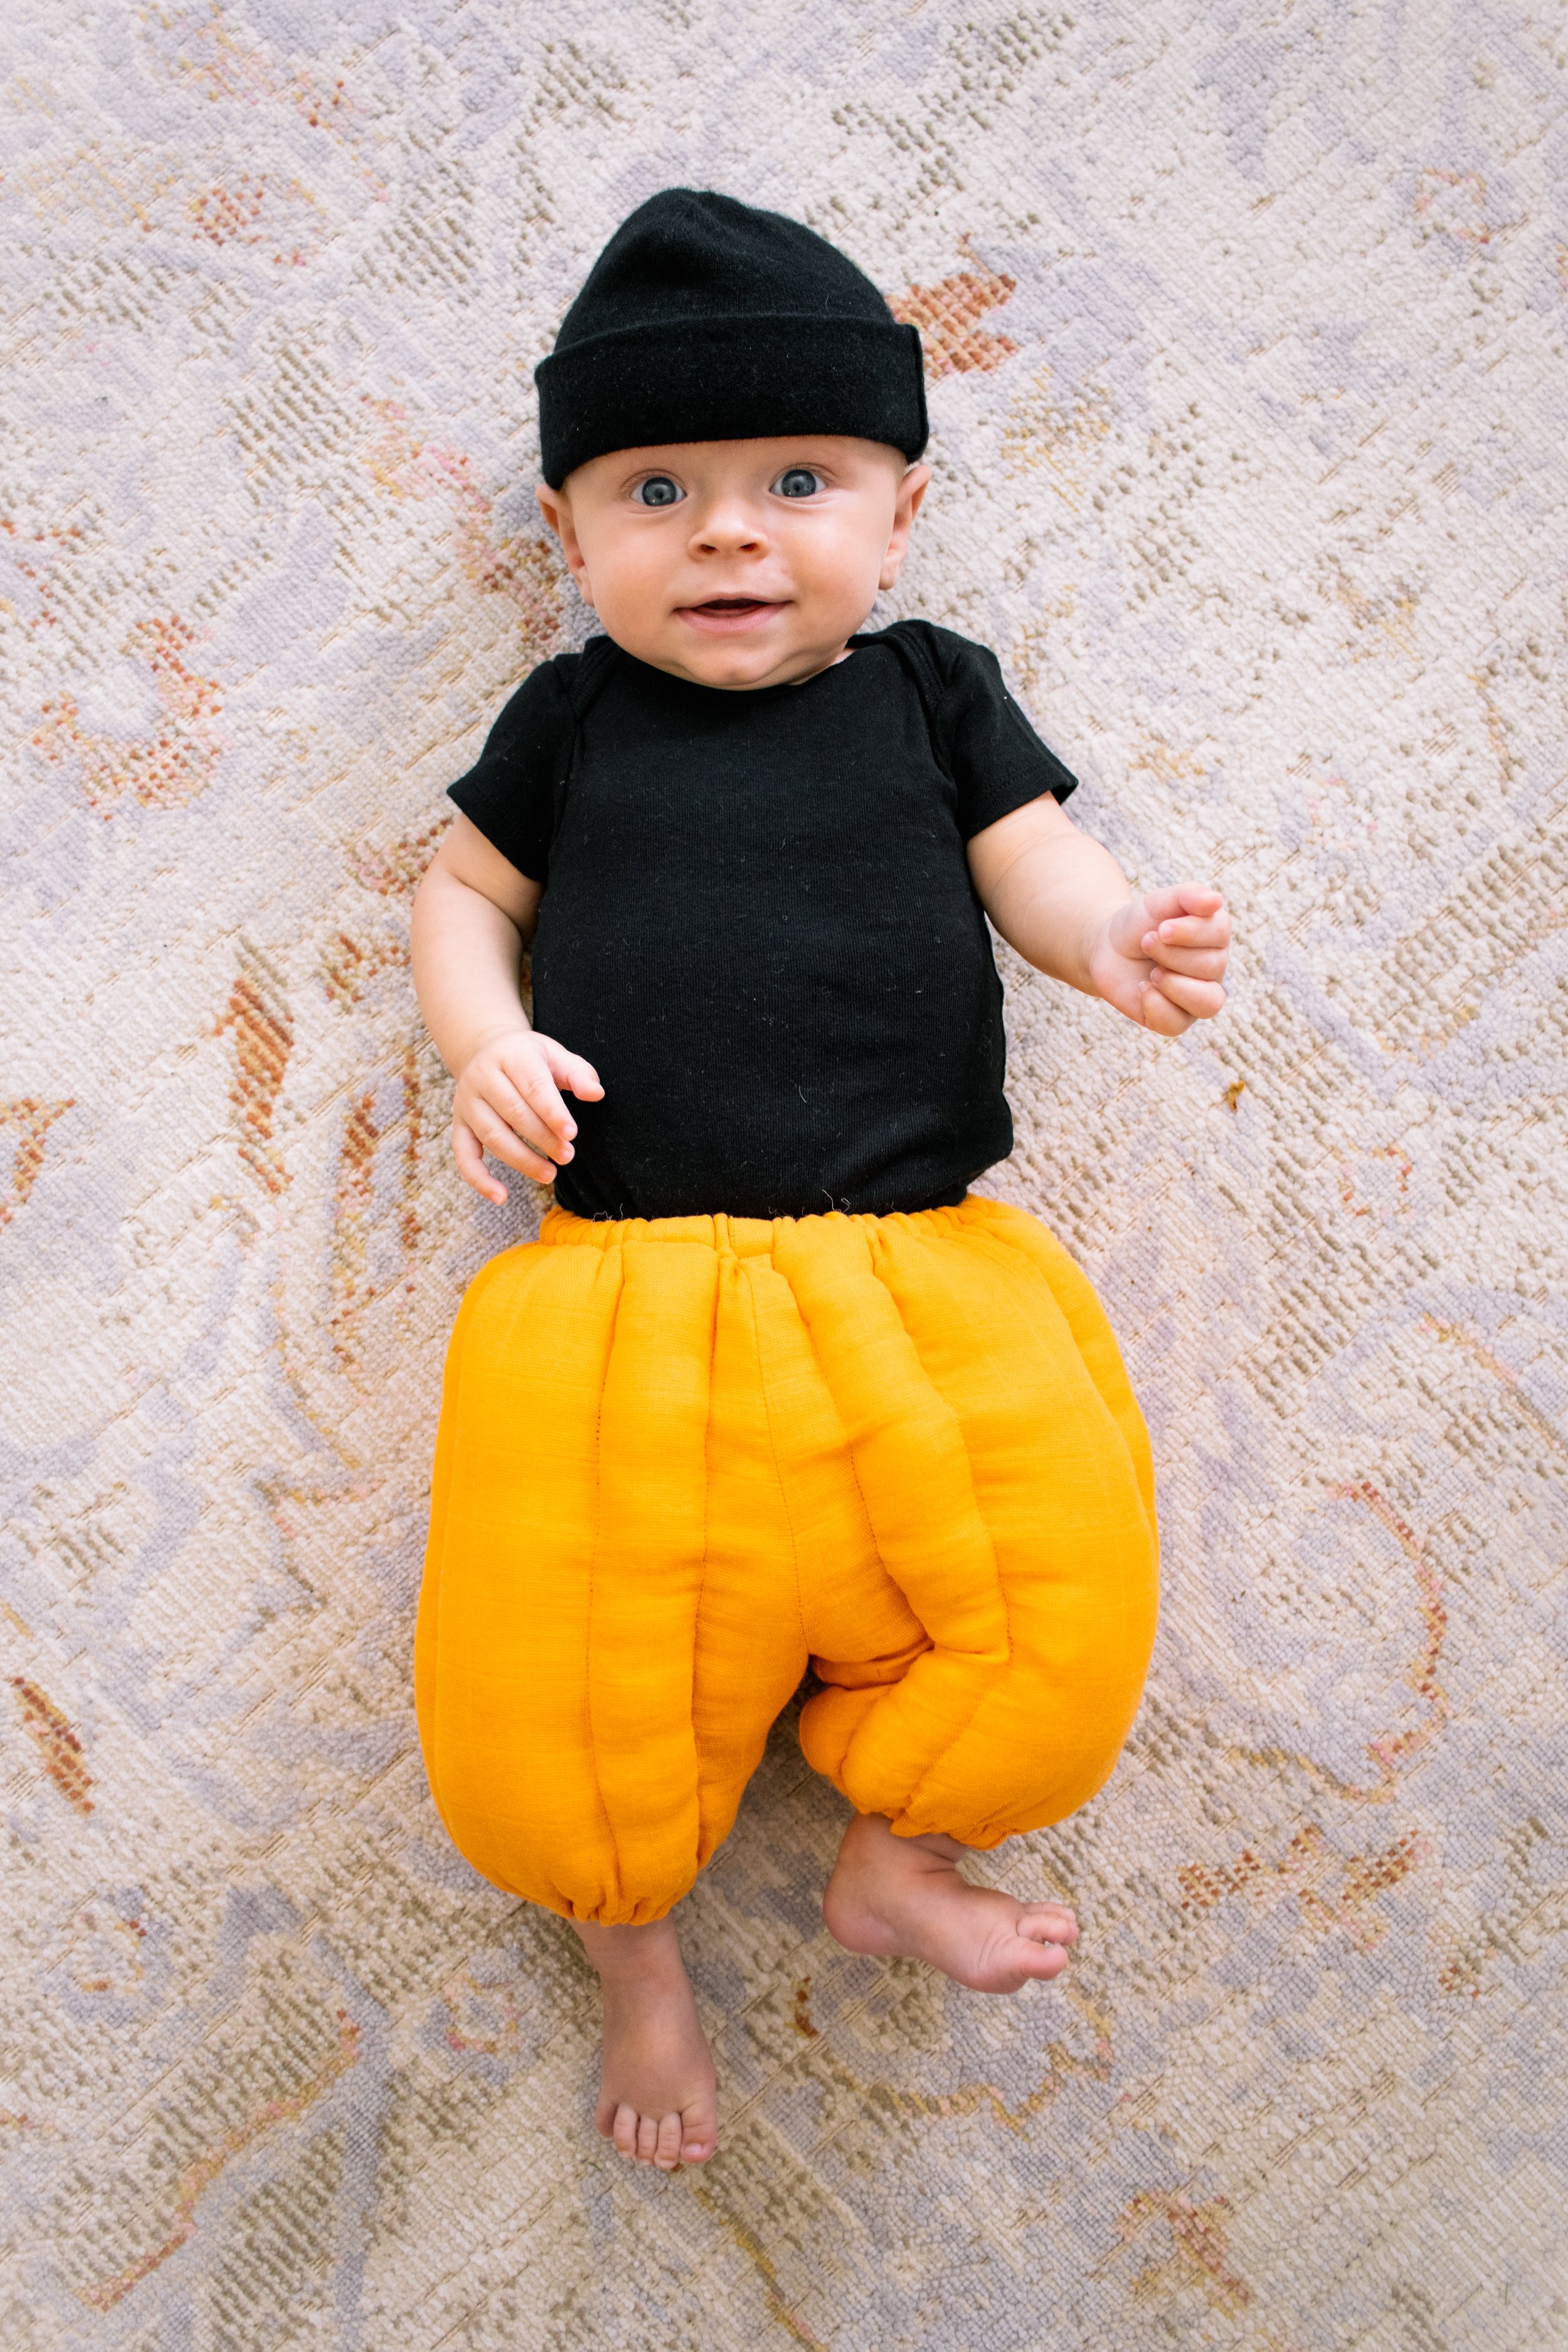
Halloween Pumpkin Pants
These Poofy Pants are perfect for keeping your baby warm on cold October nights at the pumpkin patch, corn maze, or trick or treating! Plus it makes your munchkin even more squishy and huggable!
My sister-in-law bought some pants similar to these a few years ago before I had my little one and I thought they would be a fun festive project to try and replicate and finally share with you all since it is beginner friendly!
Everything on this article is in the downloadable packet, but for more in-depth instructions watch my youtube video below!
There are 3 different versions I give instructions for, but you can do tons of different variations and pick and choose combinations, especially if you're not a beginner. For instance, you could still do the pumpkin rind pant without it being cropped or low rise, but that’s just what I did in the video.
Fabric I used in my Video
https://www.joann.com/mini-ghosts-glow-halloween-cotton-fabric/18266742.html
https://www.joann.com/mini-ghosts-glow-in-the-dark-pink-halloween-cotton-fabric/18756833.html
https://www.joann.com/orange-solid-nursery-swaddle-fabric/18082172.html
https://www.joann.com/sportswear-quilted-knit-fabric-red-black/16099947.html
Tools & Supplies
Estimated Outer Fabric Needed: 1/2 yard
Estimated Lining Fabric Needed: 1/2 yard
3/4” wide Elastic for pant hems and waistband. The length depends on baby’s unique ankle and waist measurements. But standard 3-6 month old baby ankle circumference is 3.25“-4.25” and a waist circumference of 18“-19”.
Pumpkin Pants
Size 3-6 months
Sewing Steps
Version 1 - Cropped Low-Rise Pumpkin Rind Pant w/loose Polyfill
Difficulty Level: Medium
Cut out the pattern on grain and mark all notches and dots.
Sew each pant leg back and front together.
Sew pant inseam and crotch together.
Make pant lining by following steps 1-3.
Pin the pants wrong sides together to keep the fabric from shifting.
Trace red dashed lines from the pattern or arbitrarily draw pumpkin rind lines with chalk onto the outside of the pants to use as a guide.
Turn under pant legs 3/4” with an enclosed 1/4“ raw edge (total 1” hem) and topstitch, leaving an opening to thread elastic through.
Sew along traced lines through both layers of fabric to create vertical casings for the loose polyfill.
Stuff the vertical casings from the top with loose polyfill and massage the polyfill down at least 3“ down from the top (this will make sewing the elastic casing much easier).
Baste around the top of the pant leg to hold the two layers together. I recommend serging the layers together if your fabric frays easily.
Turn down the waist 3/4” with an enclosed 1/4“ raw edge (1” total) or you can serge the edge and topstitch, leaving an opening to thread elastic through.
Thread waist and ankle elastic through casings and stitch into a loop and then close the opening. Massage polyfill around to make it look even.
Version 2 - High Waisted Pant with Quilting Batting
Difficulty Level: Medium
Cut out the pattern on grain and mark all notches and dots.
Sew each pant leg back and front together.
Sew pant inseam and crotch together.
Make pant lining by following steps 1-3.
Cut out batting from the pattern following green dotted lines. (Same as the original pattern with waist and pant legs casing allowances cut off because it’s too bulky for the elastic to go through) and assemble by following steps 1-3.
Tack batting down to the lining of the pant by hand or machine.
Sandwich batting between the outer pant and lining so that the right sides are facing outwards but tacks are on the inside.
Sew 1” down from the top of the waist and 1” from the bottom of the pant leg to create part of the elastic casing.
Turn in 1/4“ of the lining and outer pants and topstitch to finish the waist and pant legs. leaving a 2” opening to thread the elastic through with a safety pin. Adding binding or trim is optional.
Thread waist and ankle elastic through casings and stitch into a loop and then close the opening.
Version 3 - High Waisted Pant Using Pre-Quilted Fabric
Difficulty Level: Easy
Cut out the pattern on grain and mark all notches and dots.
Sew each pant leg back and front together.
Sew pant inseam and crotch together.
Make pant lining by following steps 1-3.
Put both pants right sides facing out and sew 1” down from the top of the waist and 1” from the bottom of the pant leg to create part of the elastic casing.
Add seam binding/ bias tape to the top of the waist and bottom of the pant legs to encase the raw edges and finish the casing, leaving a 2” opening to thread the elastic through with a safety pin.
Thread waist and ankle elastic through casings and stitch into a loop and then close the bias tape/ seam binding.


