
How To Make an Authentic Rollerskating Shirt
Rollerskating is a big part of my life. It’s always been my go-to on the weekends. I am not very good, but the best skater is the one having the most fun right?! At least that’s what I tell myself.
Anyways, my little sister also got into rollerskating last year and I wanted to make her something totally original and special. She is one of the coolest people I know, full of spunk and sass. Plus, our favorite movie is Whip It.
I thought this would be a perfect gift.
The Final Product
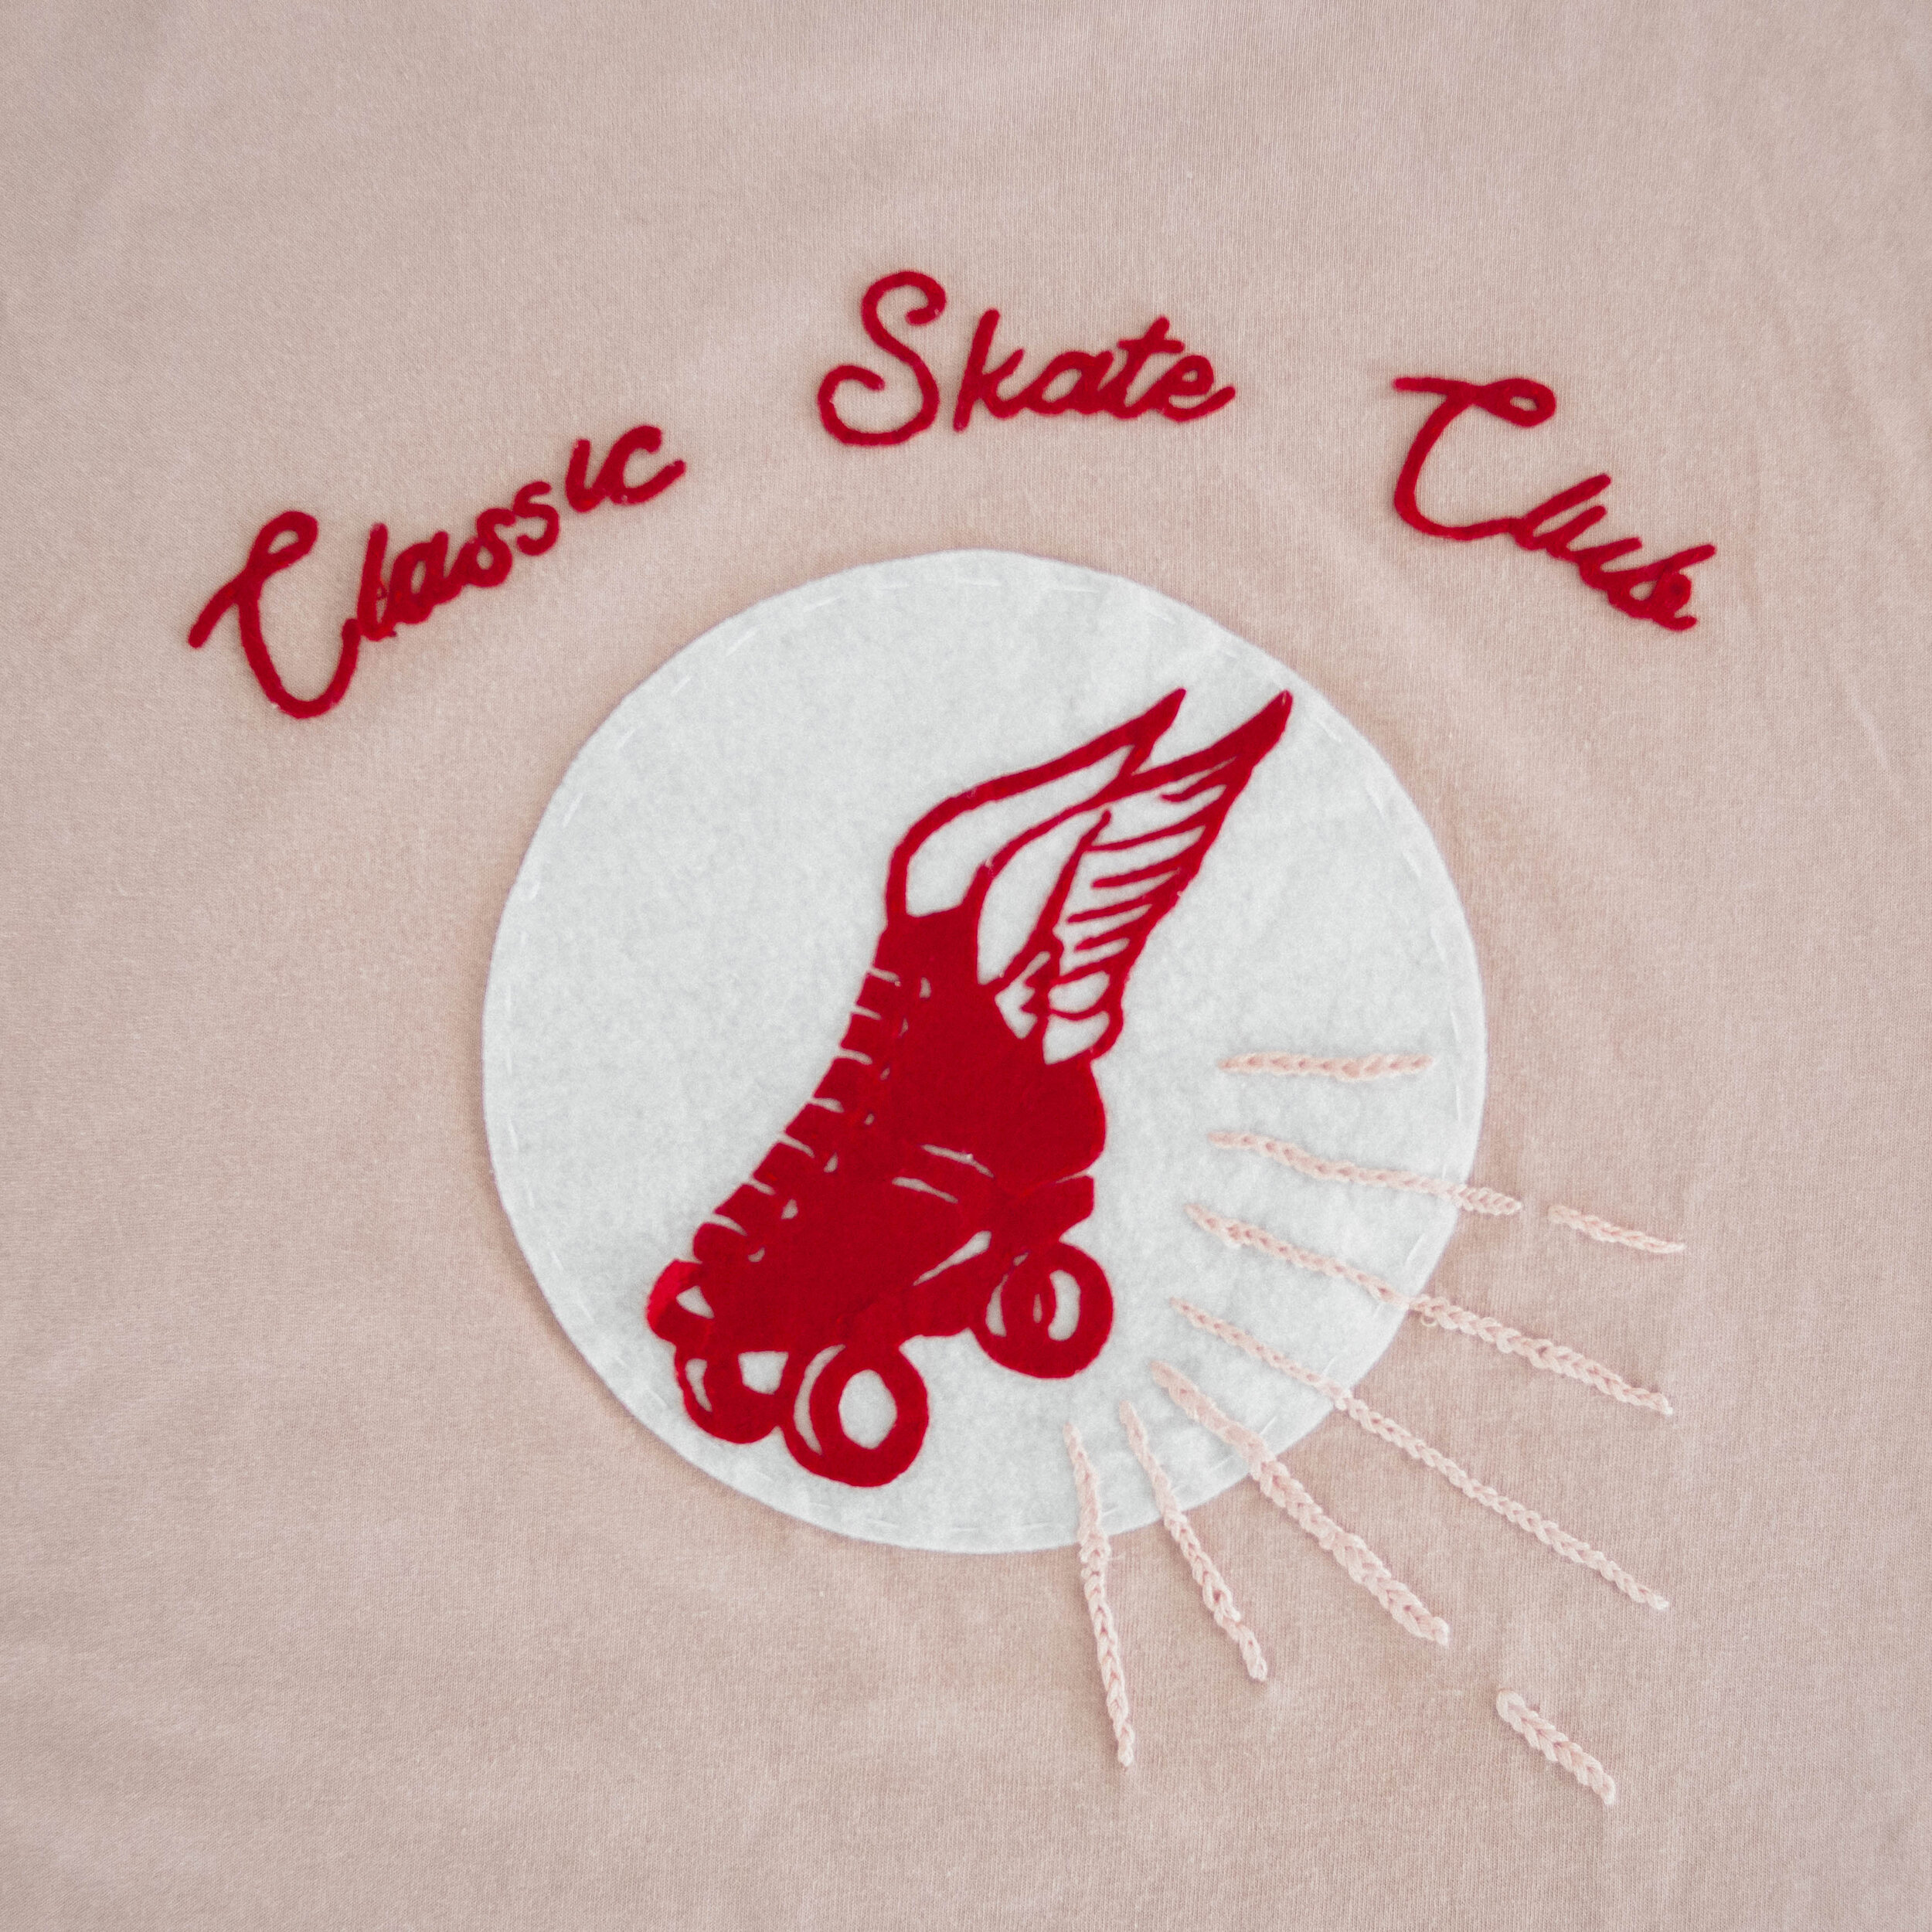
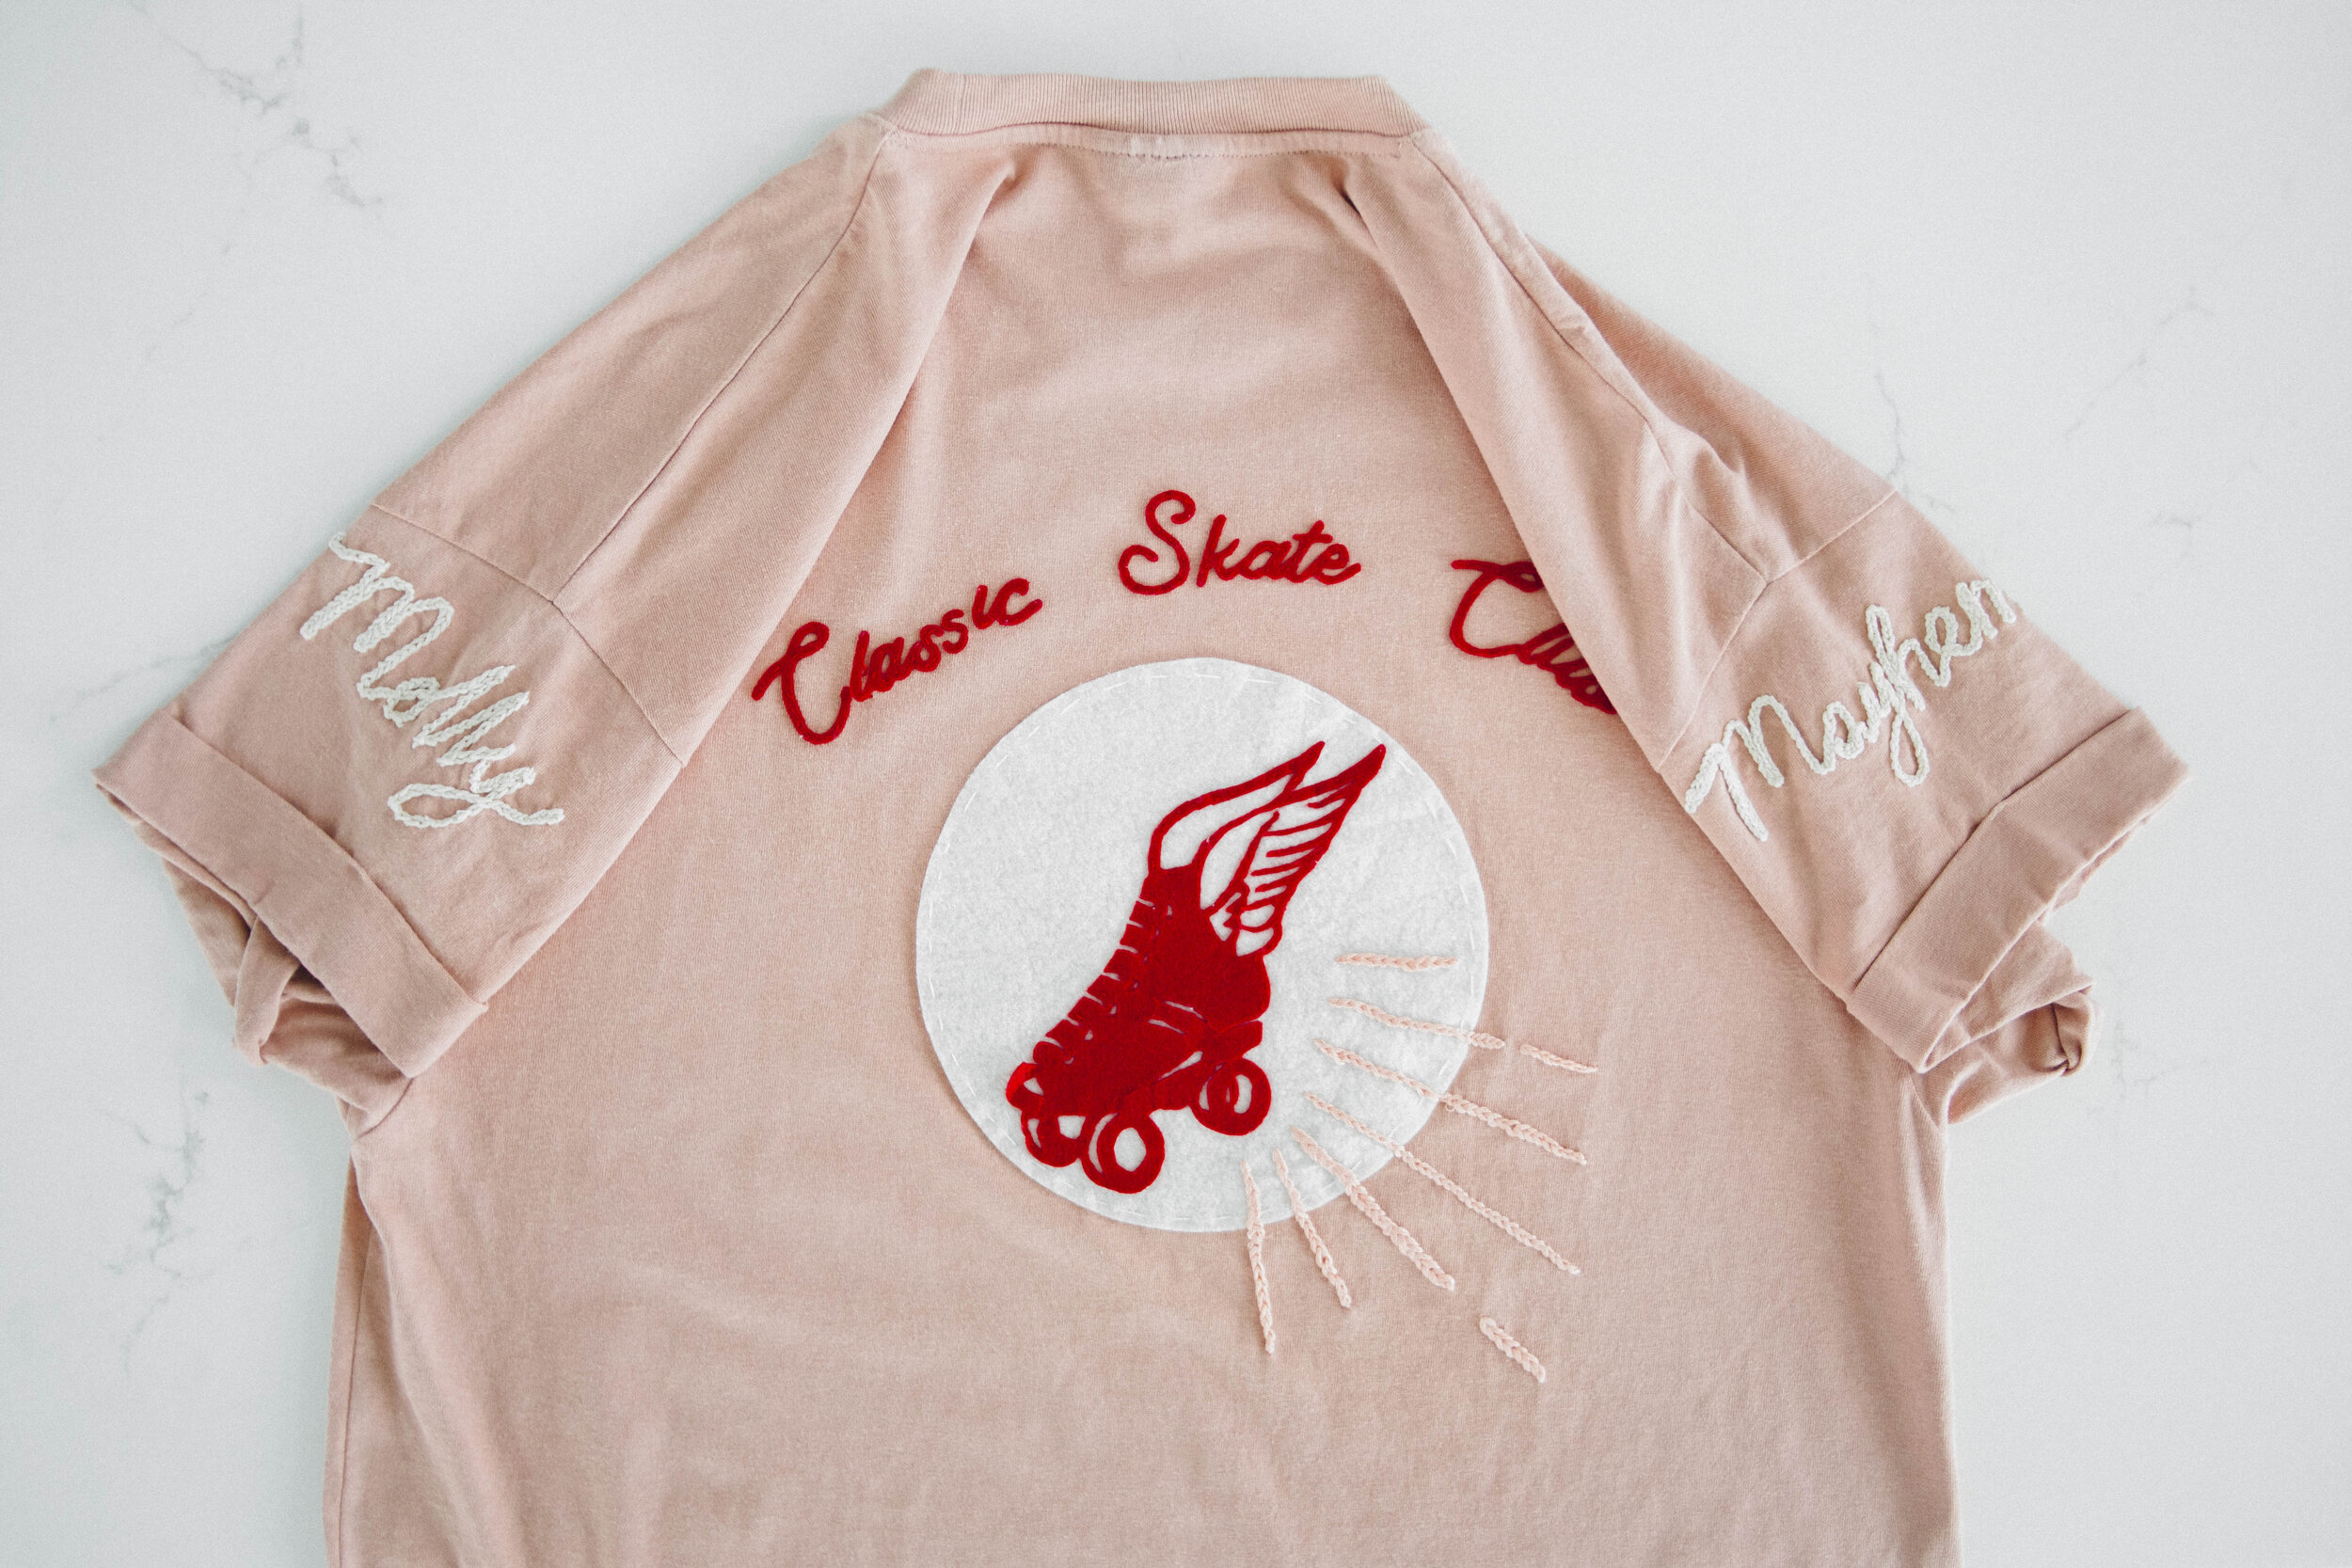
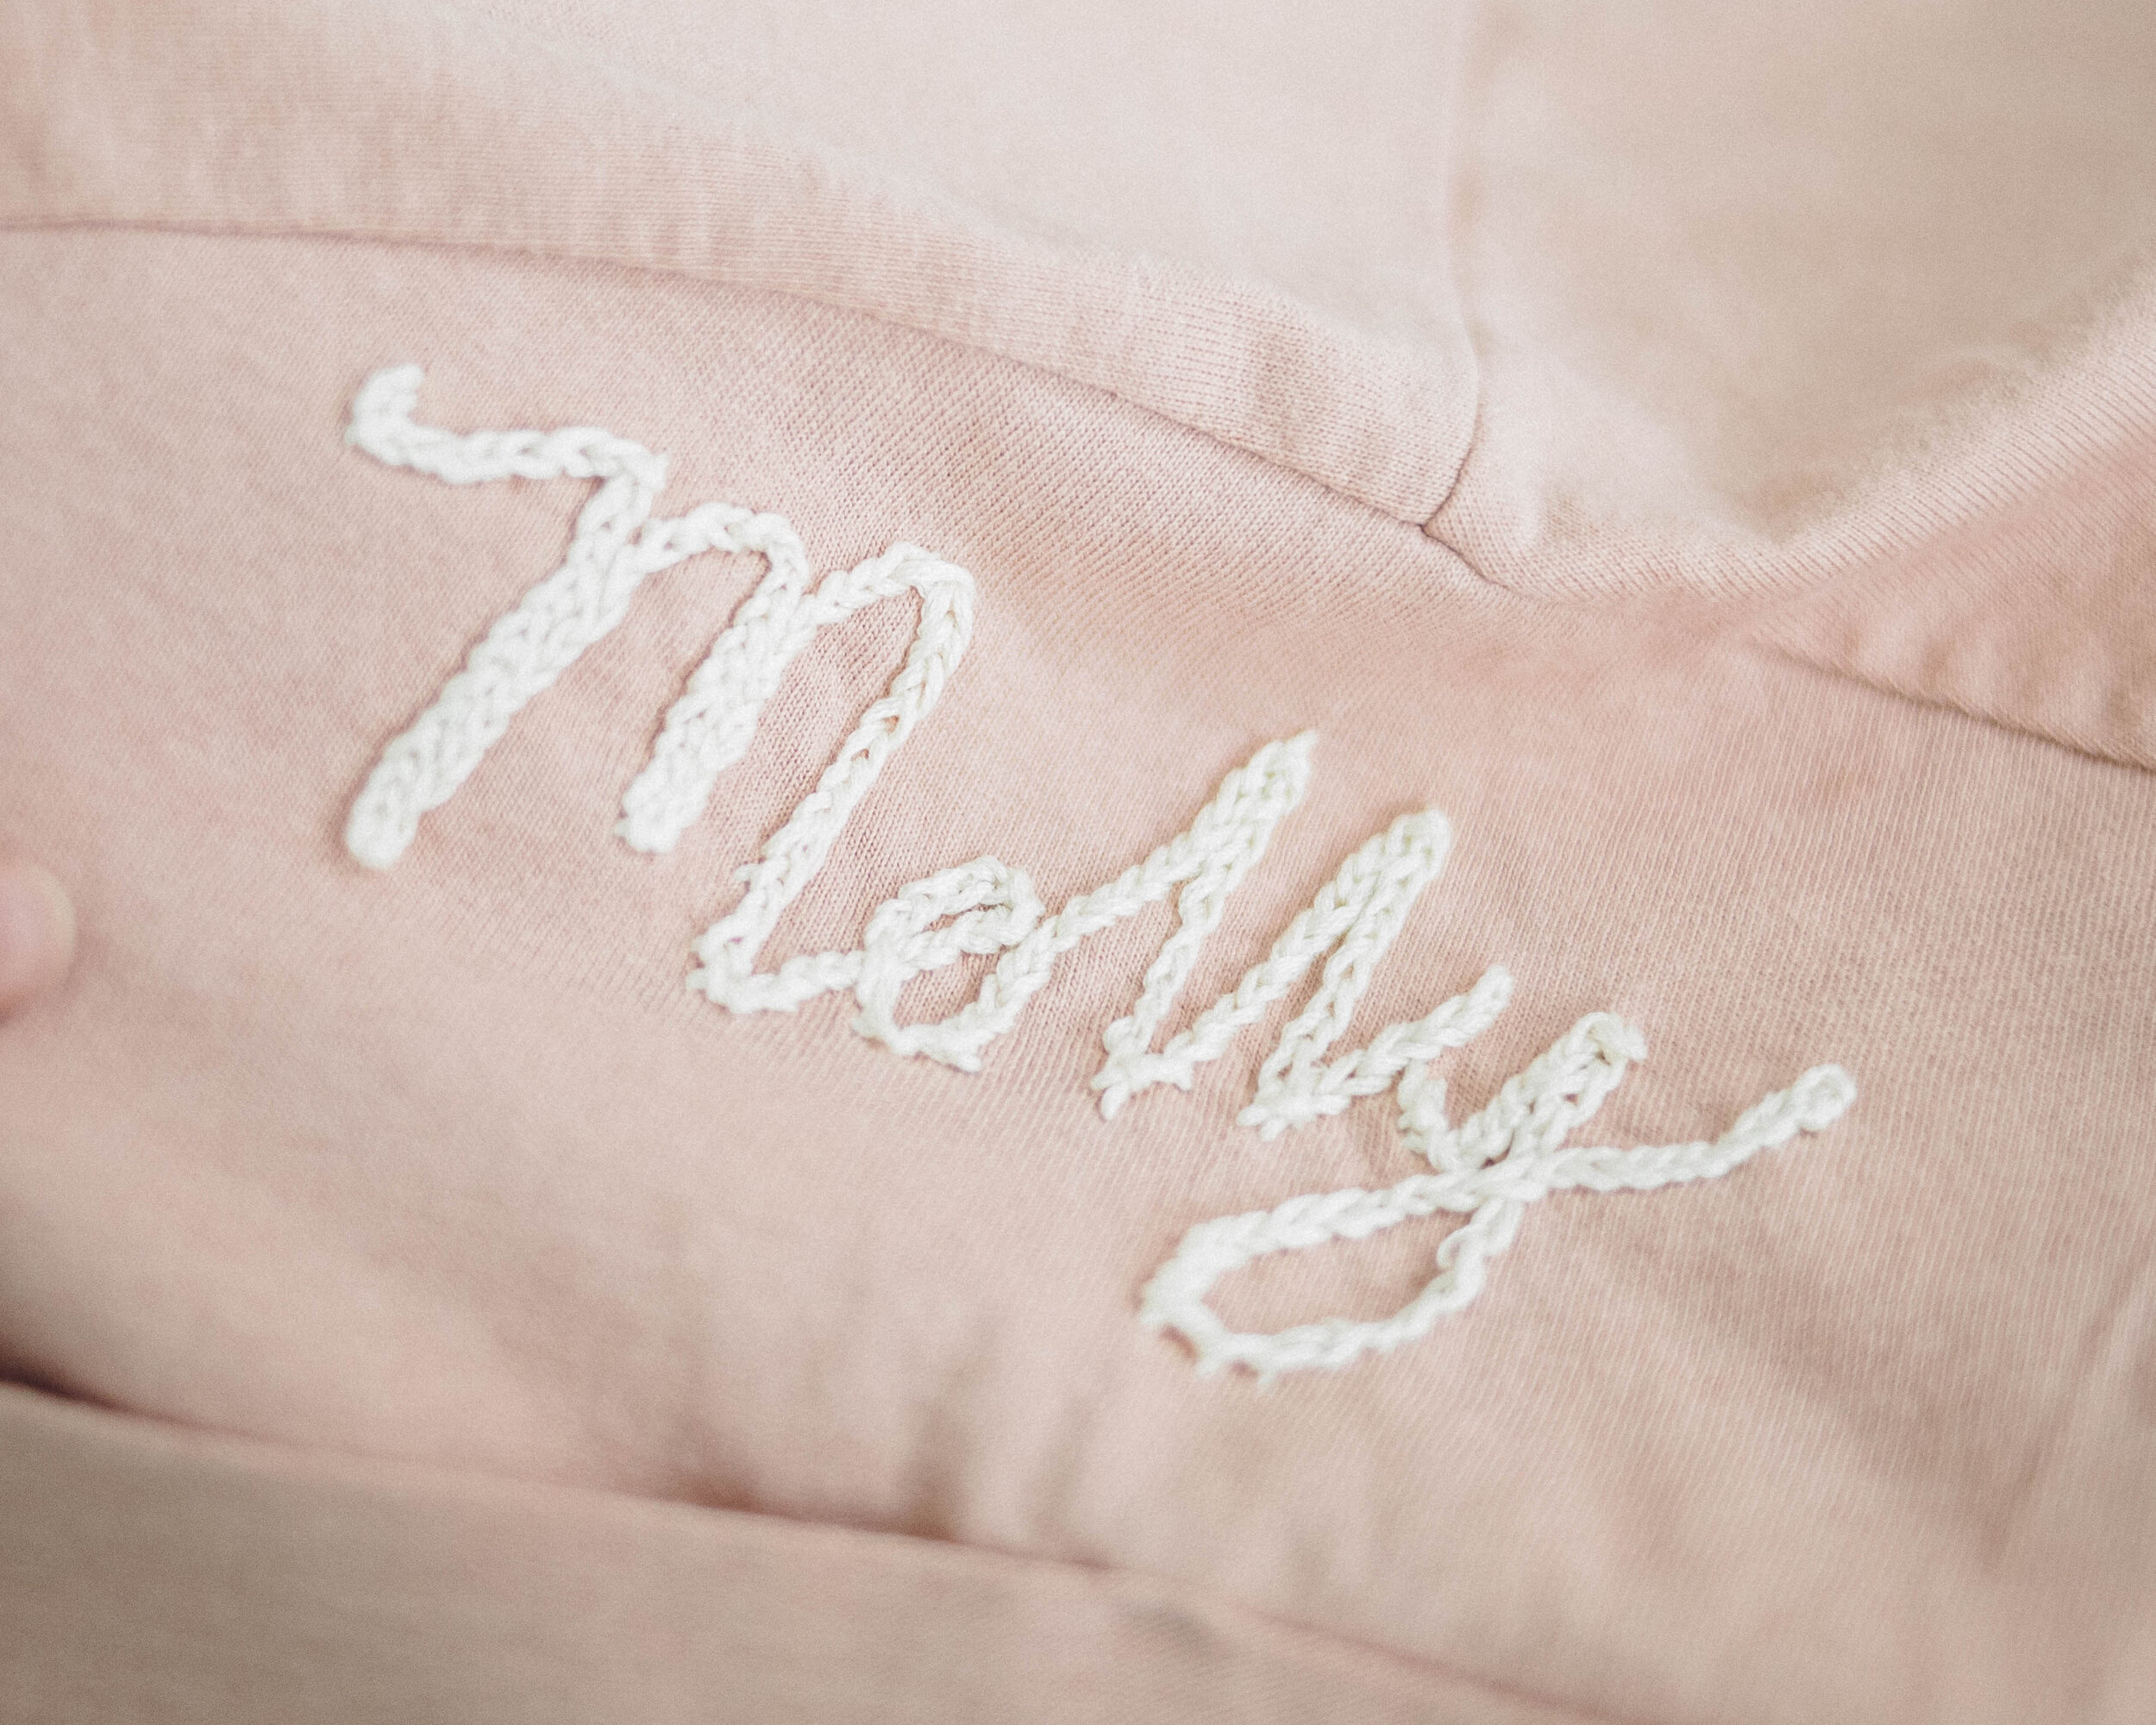
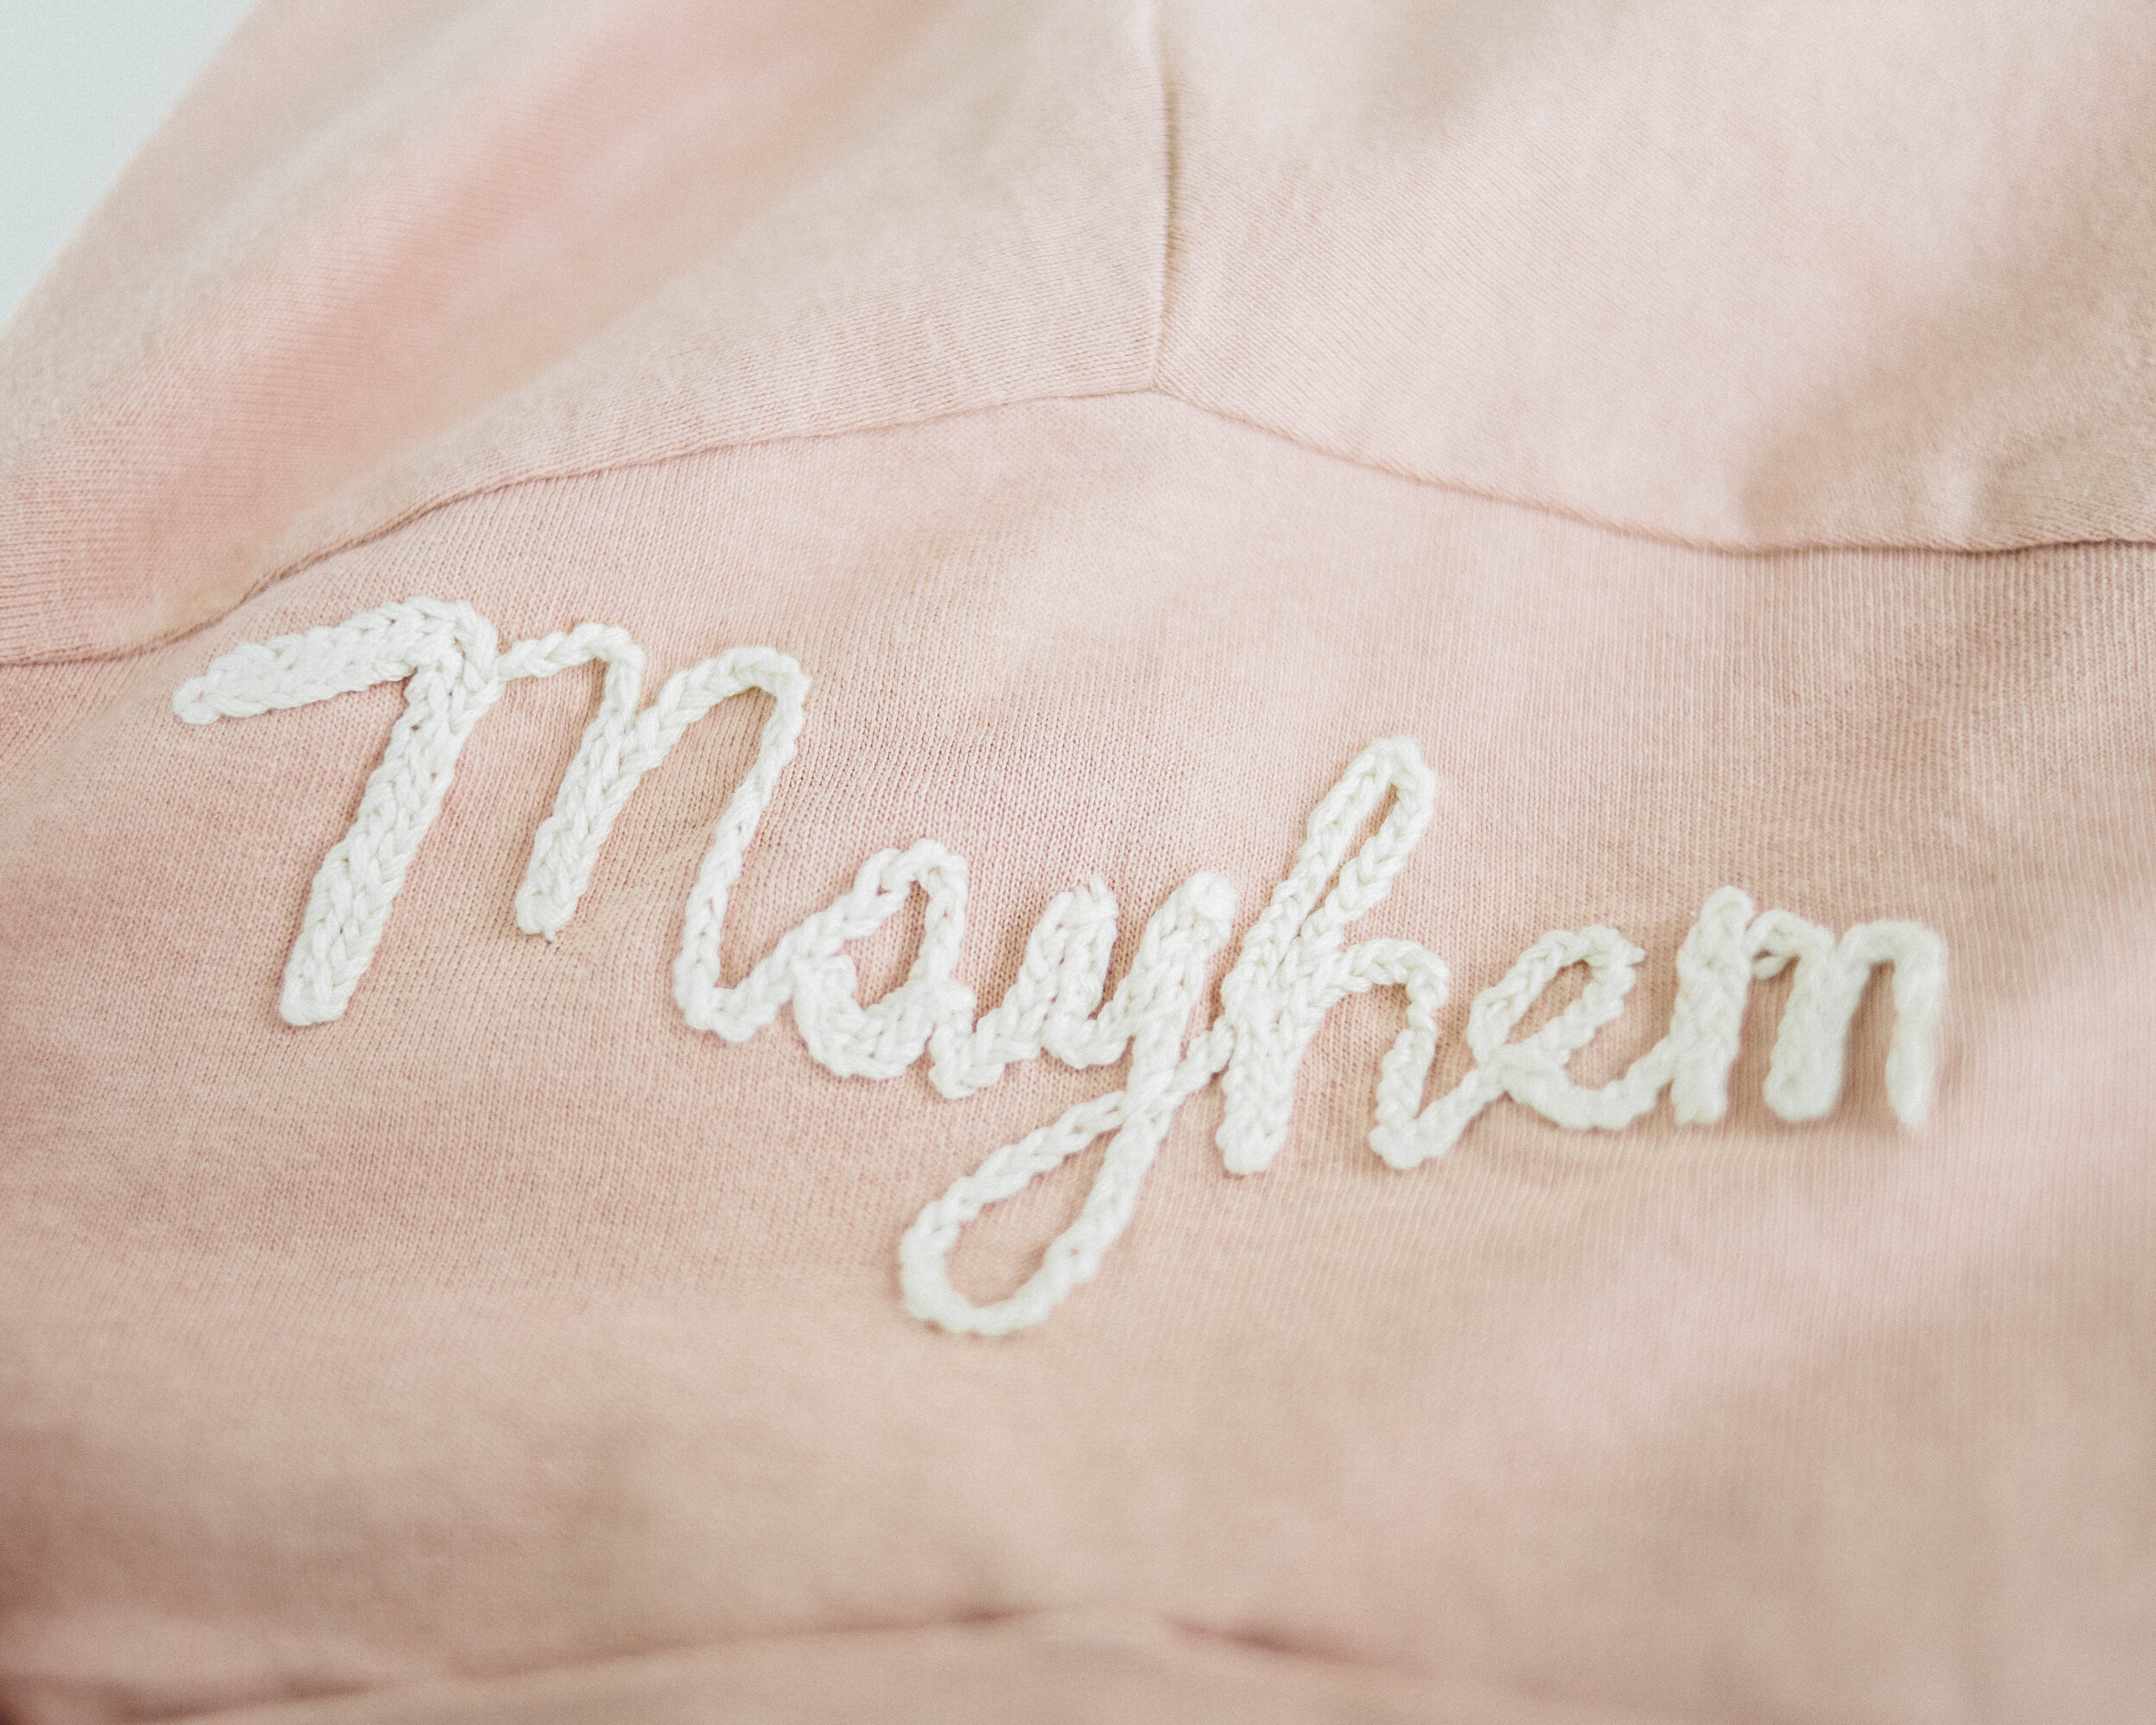
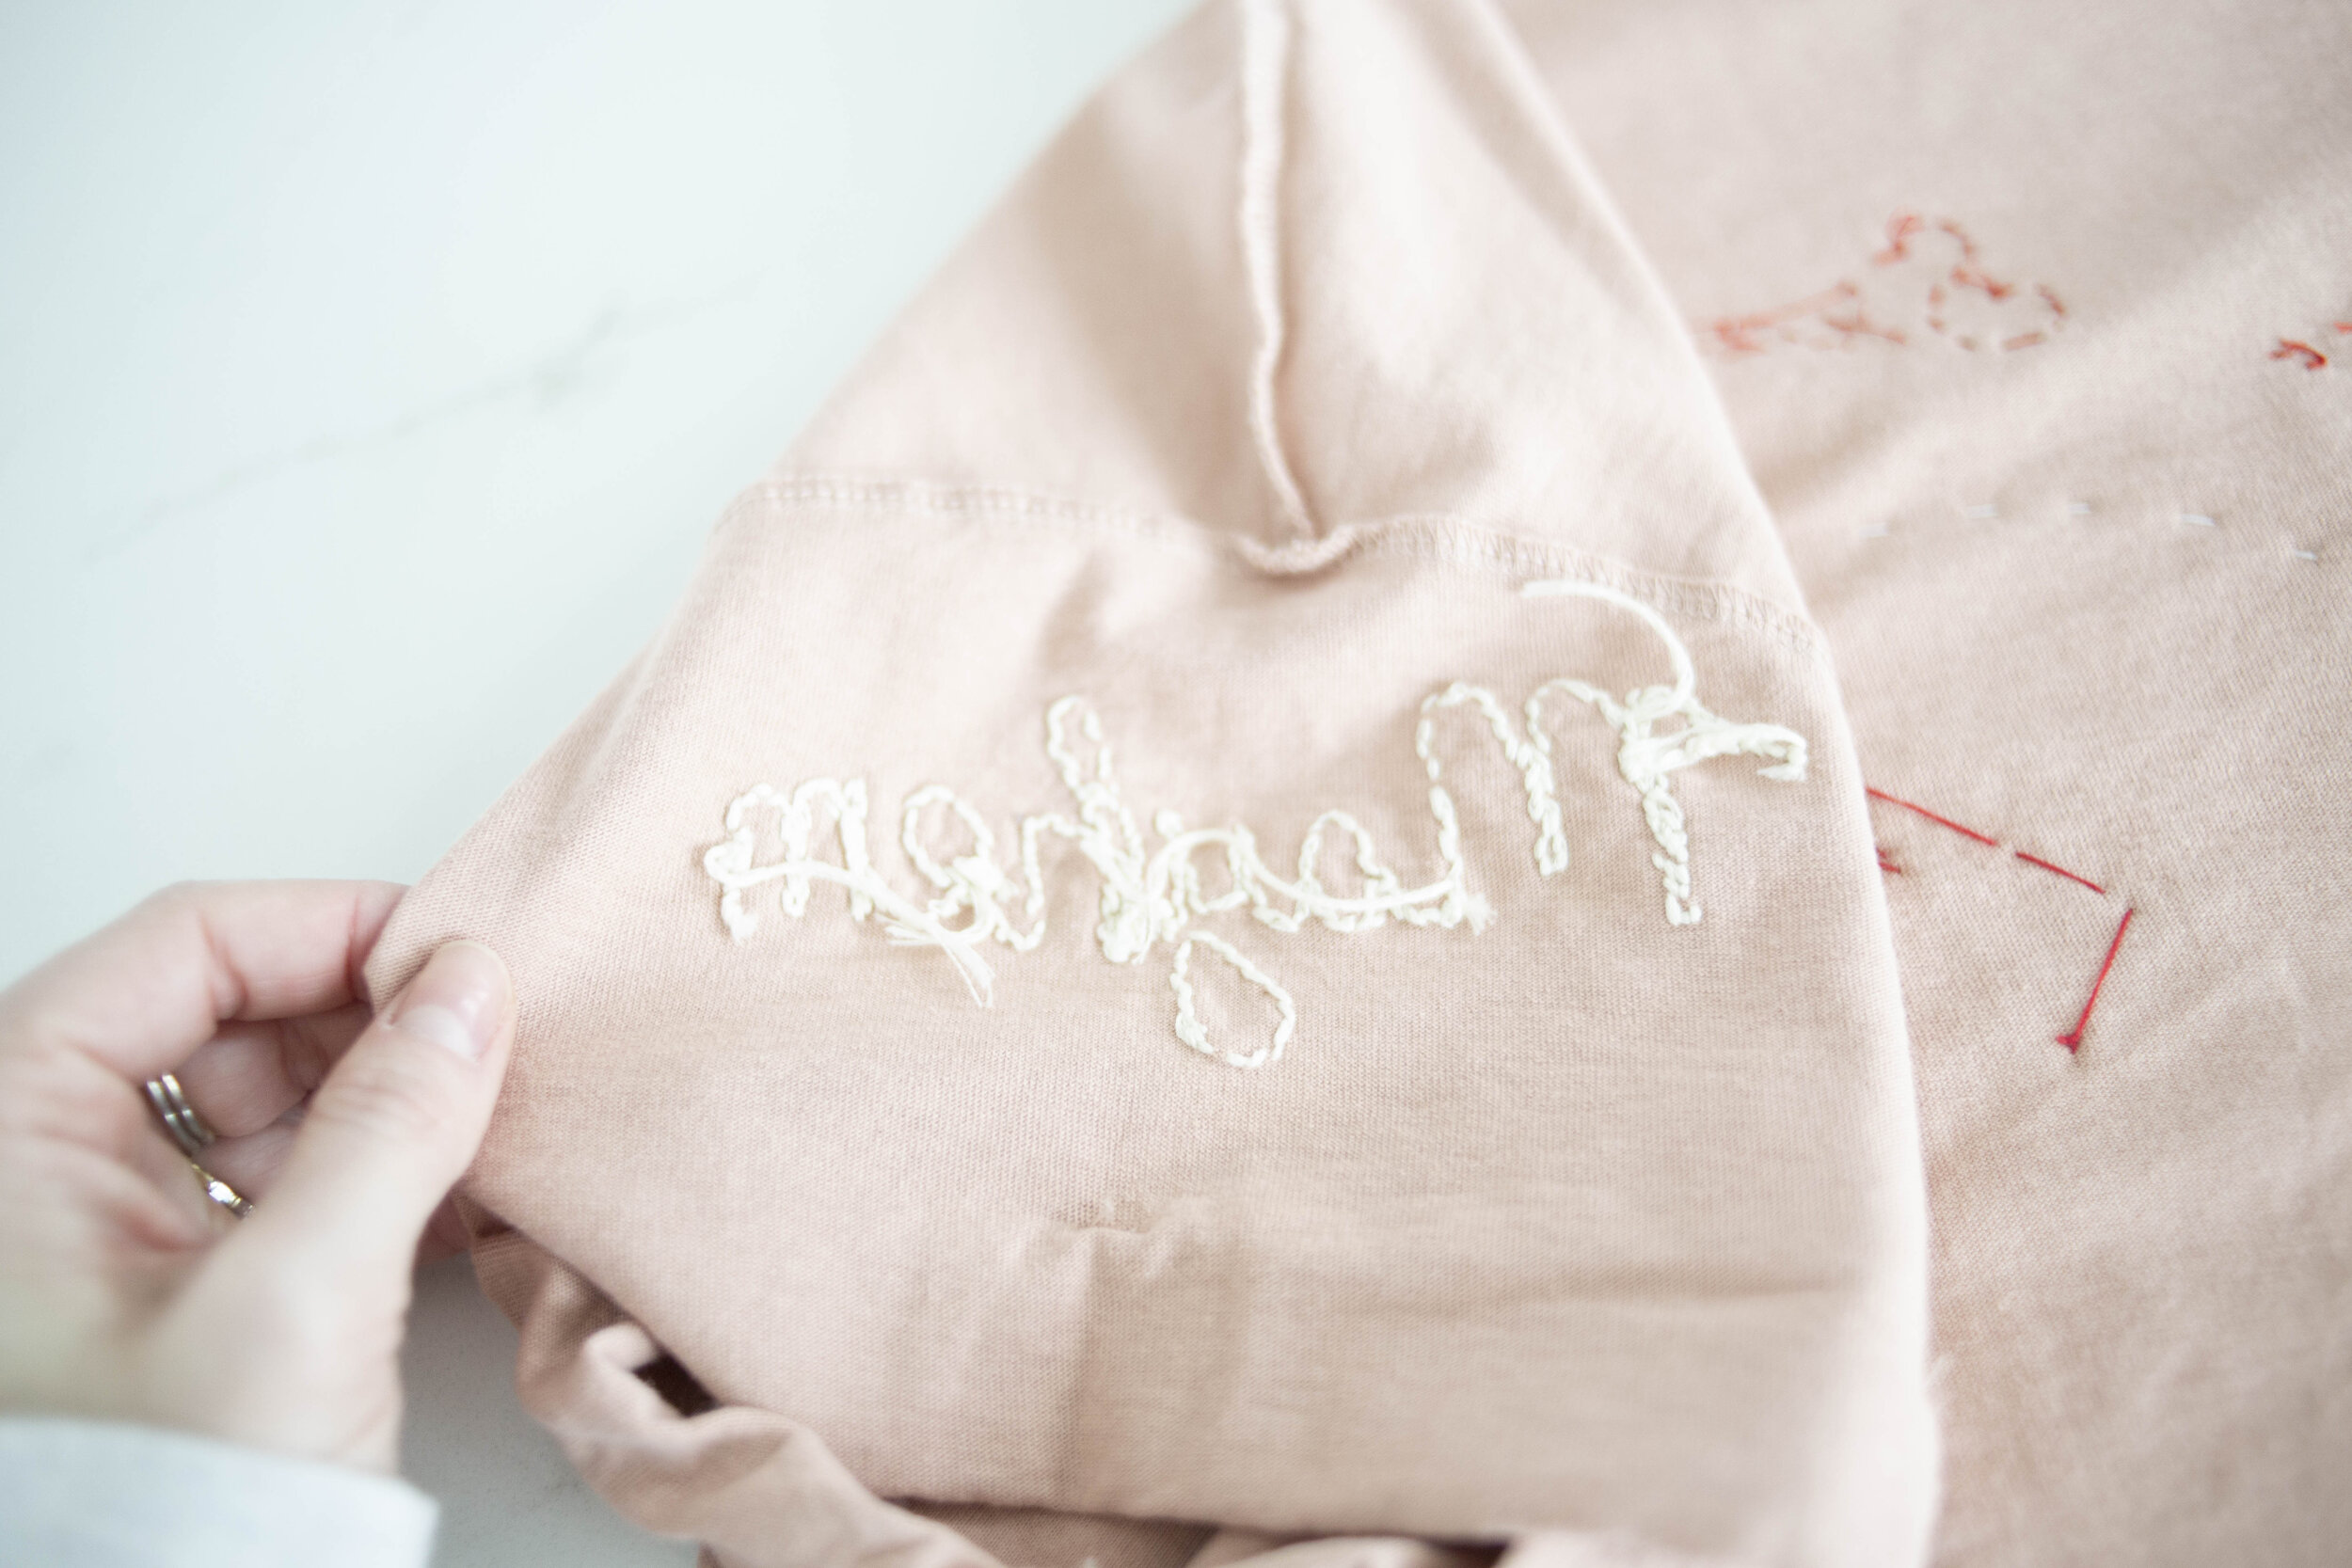
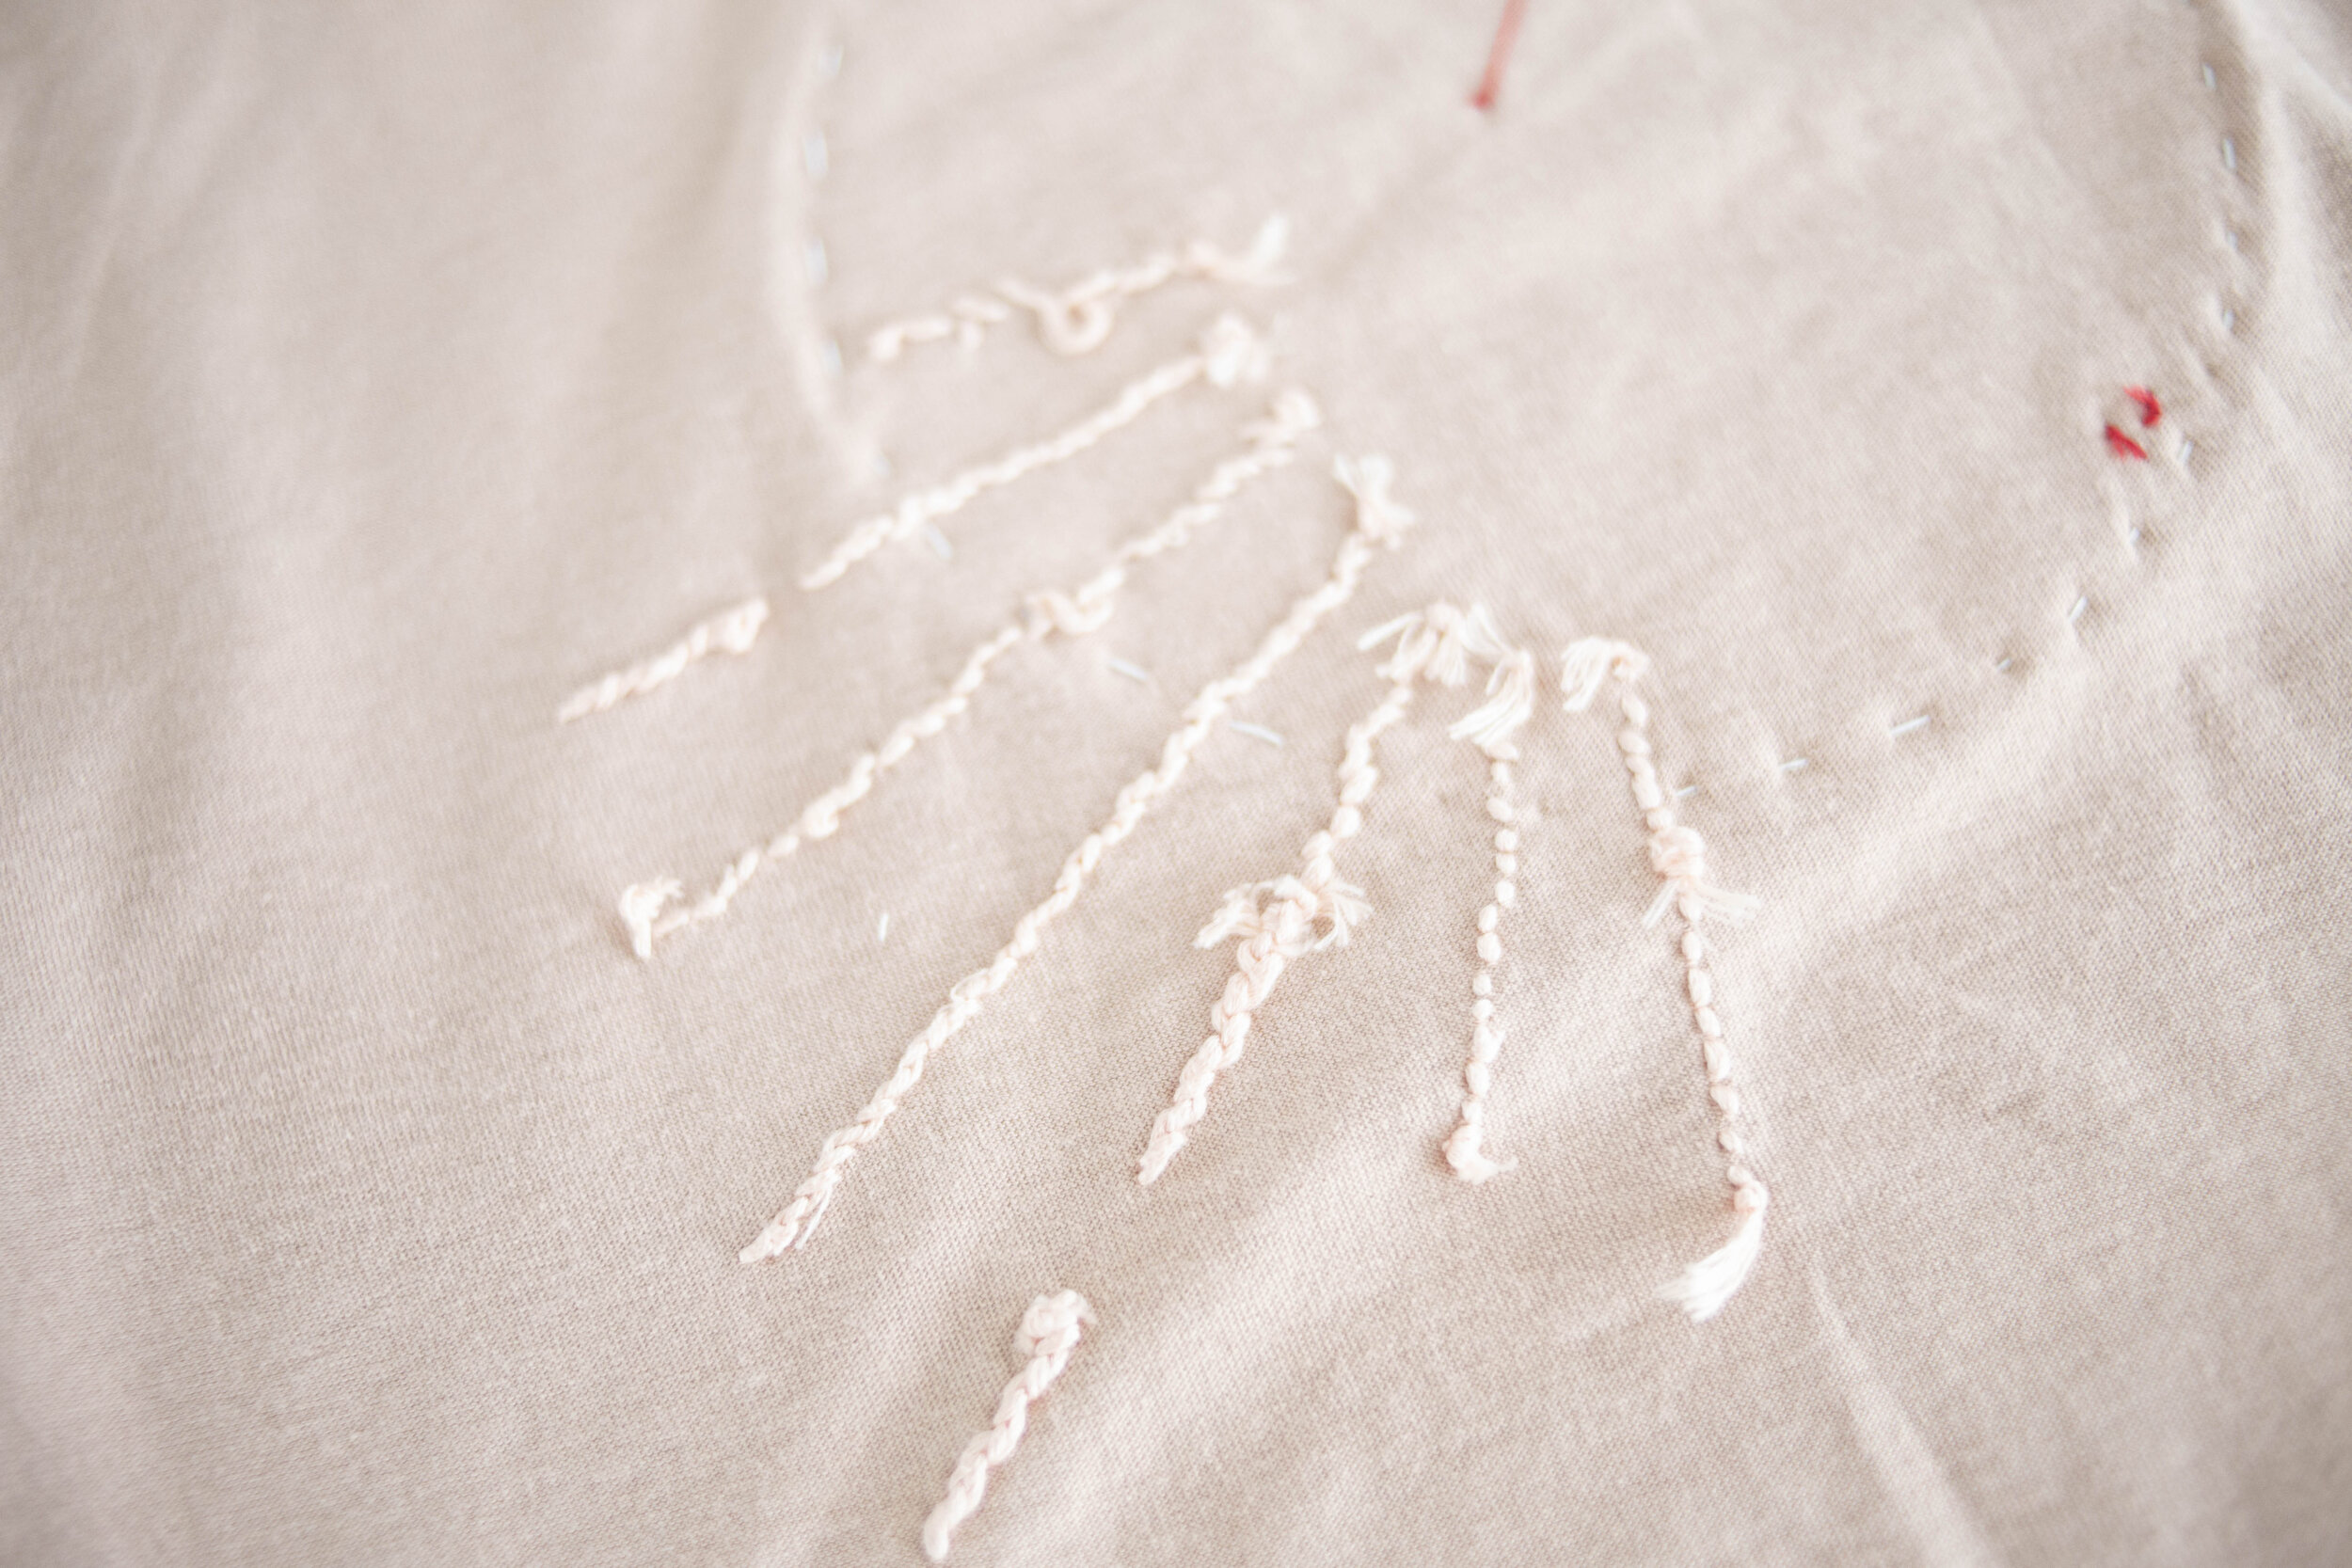
Overall, I am pretty happy with the turnout. It took me a couple of evenings to finish after work, but nothing too crazy. For the blank, I purchased a soft boxy t-shirt from TopShop. I usually don’t love new t-shirt blanks, so most of the time I get my blanks from thrift stores so I can get that boxy look and wide ribbing around the collar. For the design, I cut out some felt appliqué in combination with some chain stitching details on the back and sleeves. The words on the sleeves are “Molly Mayhem”. I Included photos of the inside of the shirt so you don’t have to feel bad when it looks “messy on the inside”.
What You’ll Need
(with some links to my favorite products)
A blank T-shirt, button-down shirt, or jacket
embroidery thread & needle
Standard sewing thread
A printer and paper (not required but helpful for applique cutouts)
A rollerskating Alter Ego/Nickname
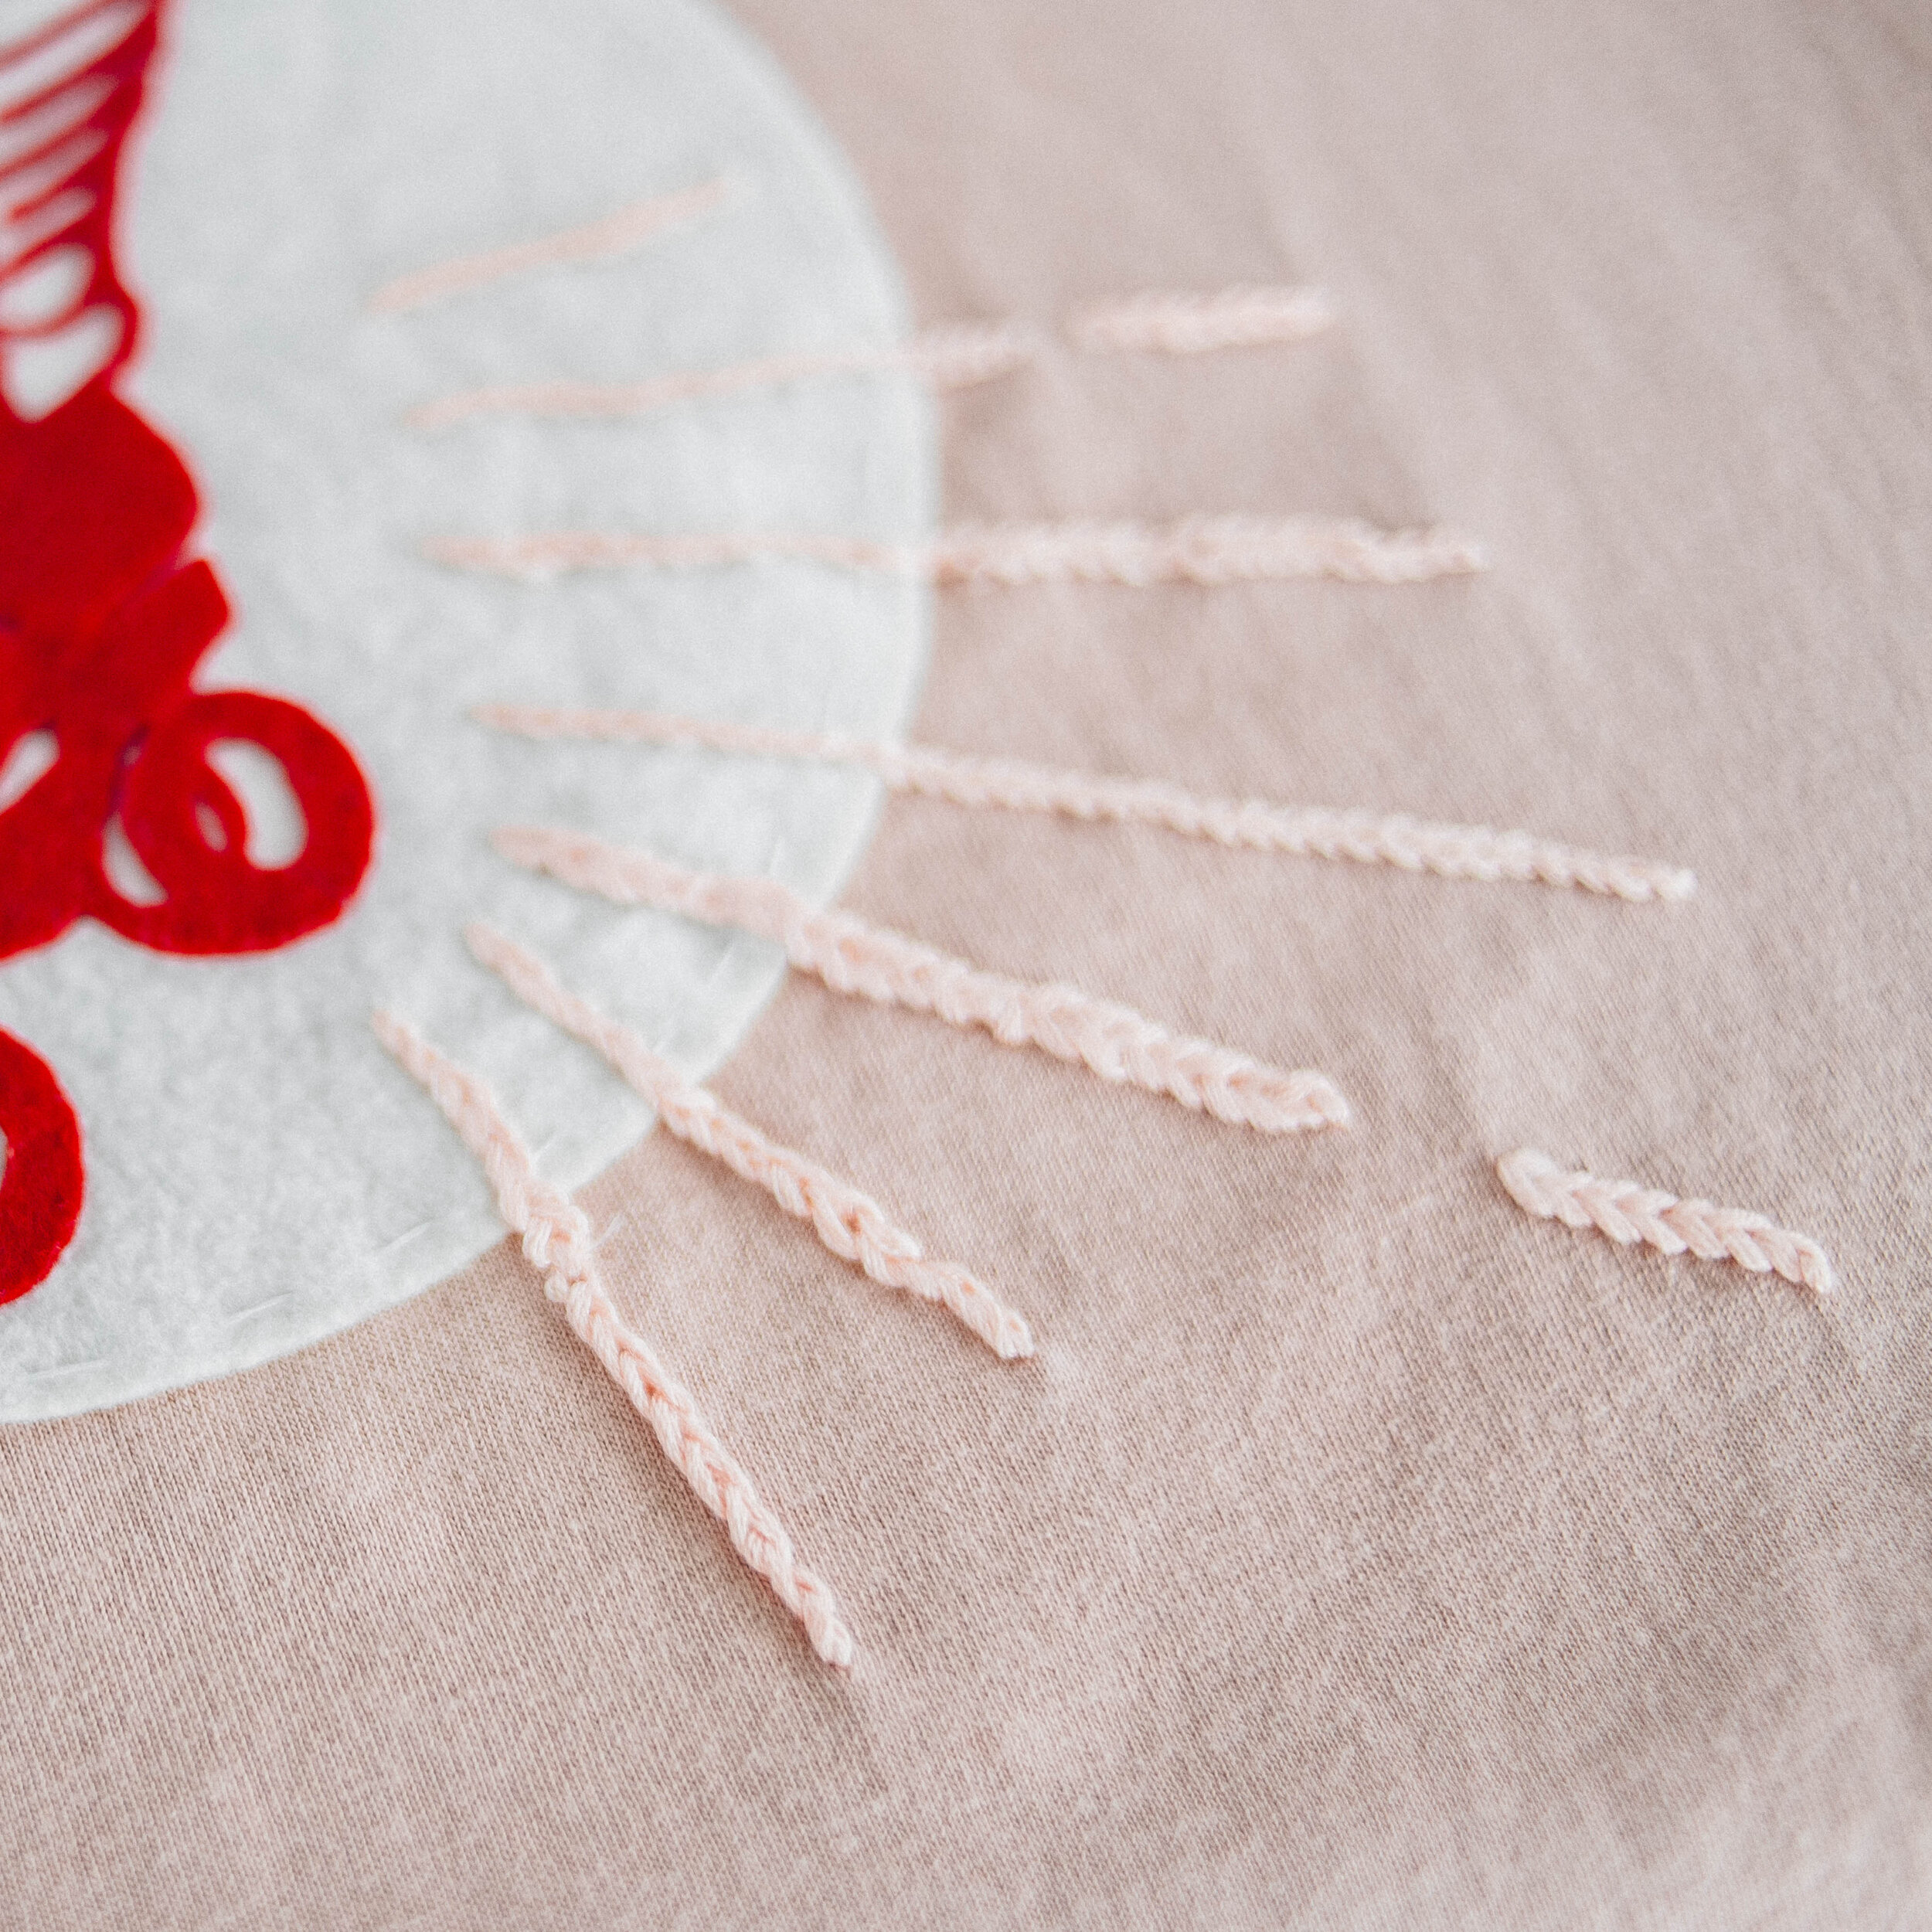
Chain Stitching
This is my favorite type of embroidery. It was very common back then and was often on bowling shirts, sports shirts, and coats. It can be done by hand or machine. It is time-consuming, but well worth the effort because it looks amazing! I would’ve preferred to do all of the lettering on my sister’s shirt with chain stitching, but I was pressed for time, so I did a combination of felt applique and chain stitching. It was my first time so don’t judge! It was also ambitious to do it on a knit, it is easier to do it on woven non-stretch fabrics. Watch this video to learn how to chain stitch.
Make sure when you put your piece of clothing into the hoop that it’s not pulled too tight, it can distort the final design if it’s stretched while you do your embroidery stitches.
Applique
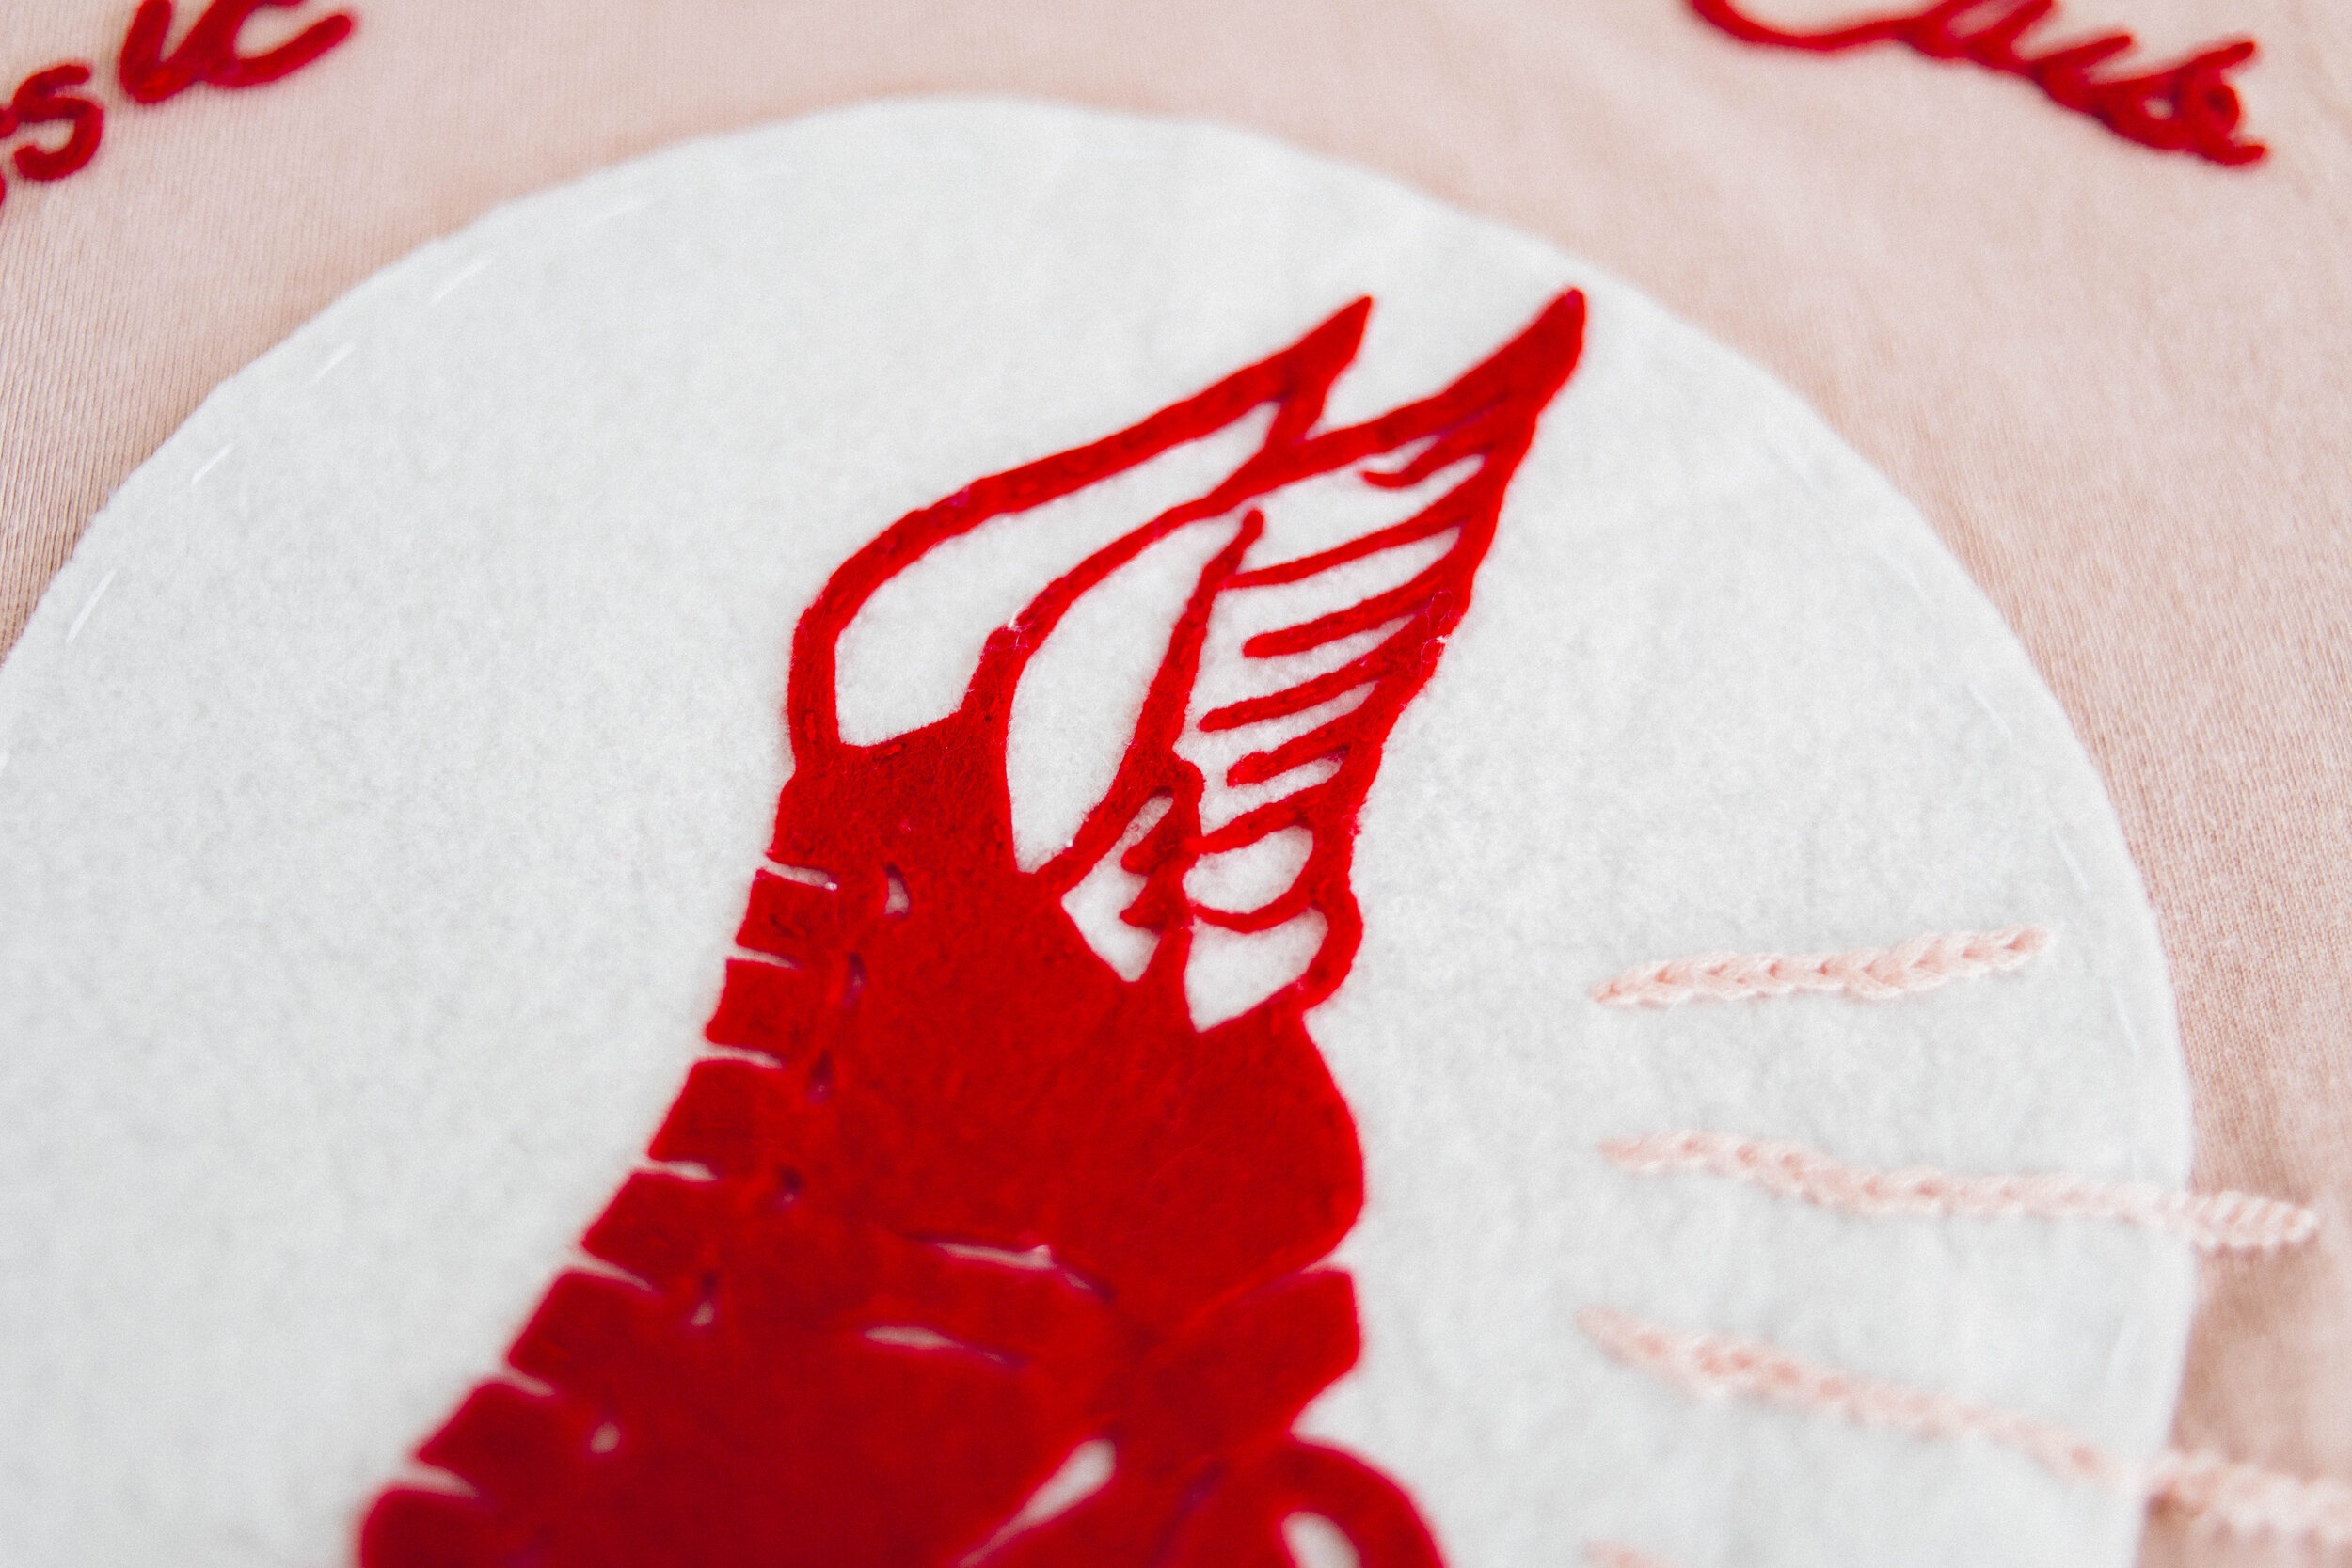
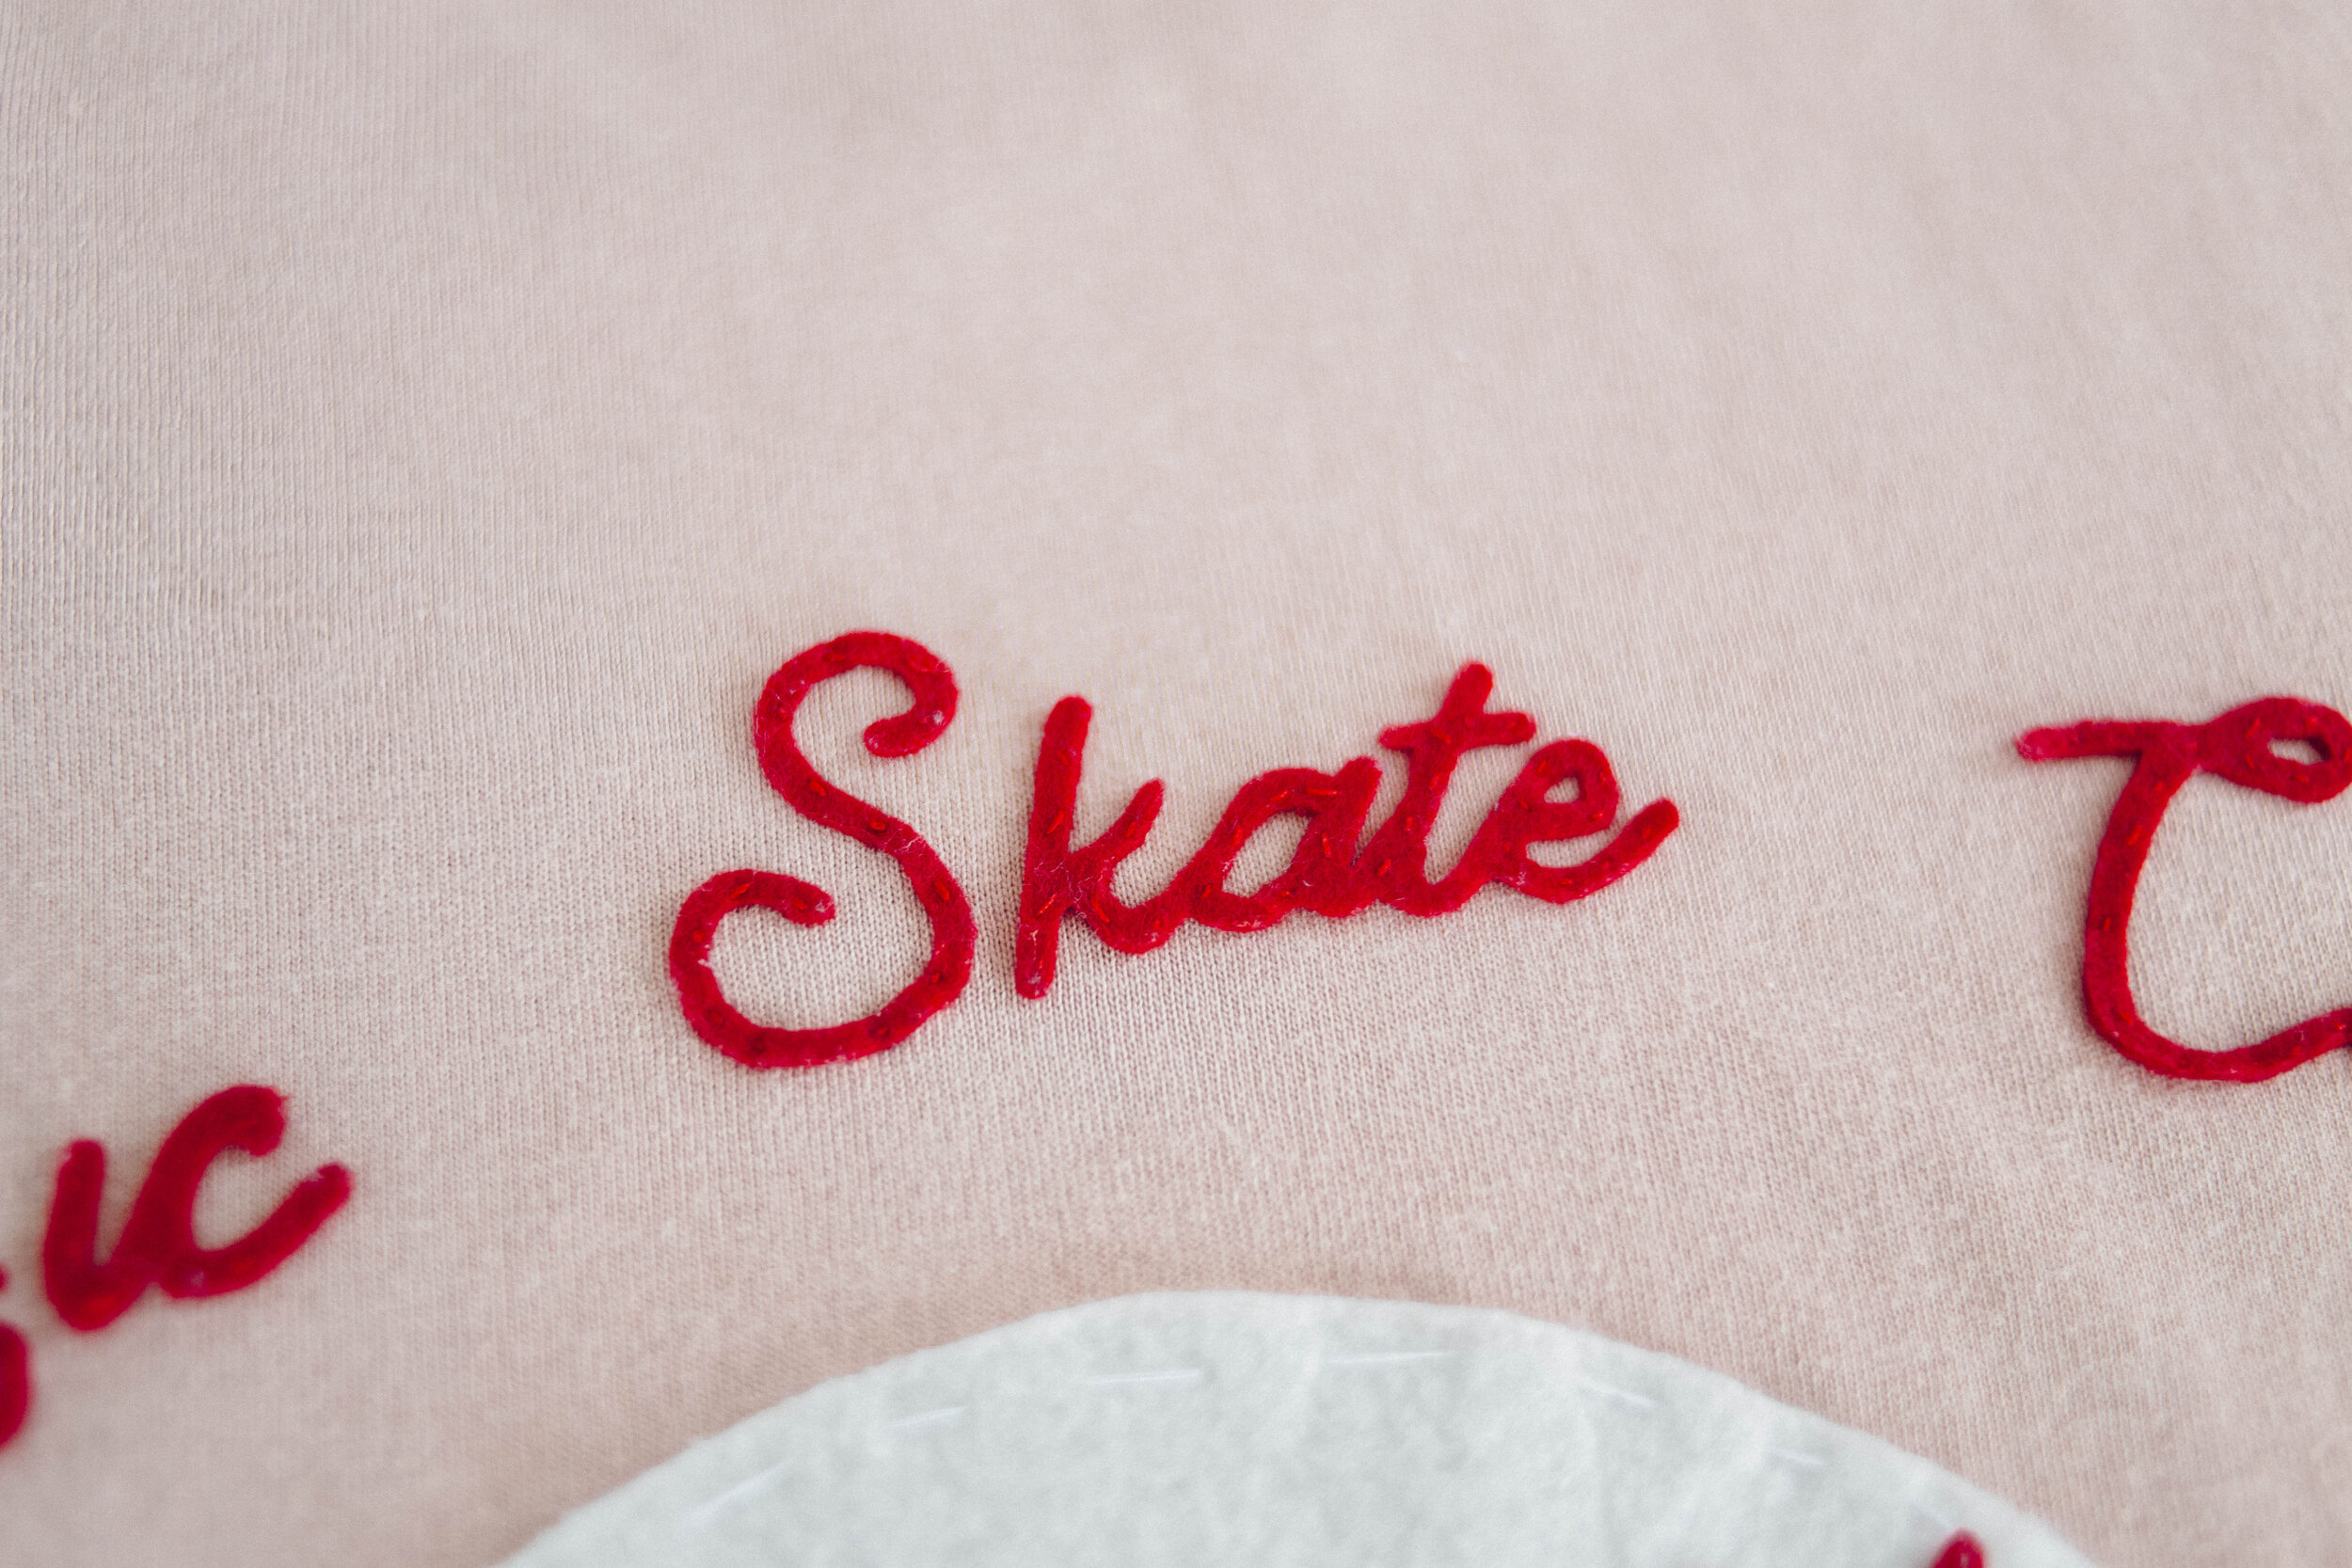
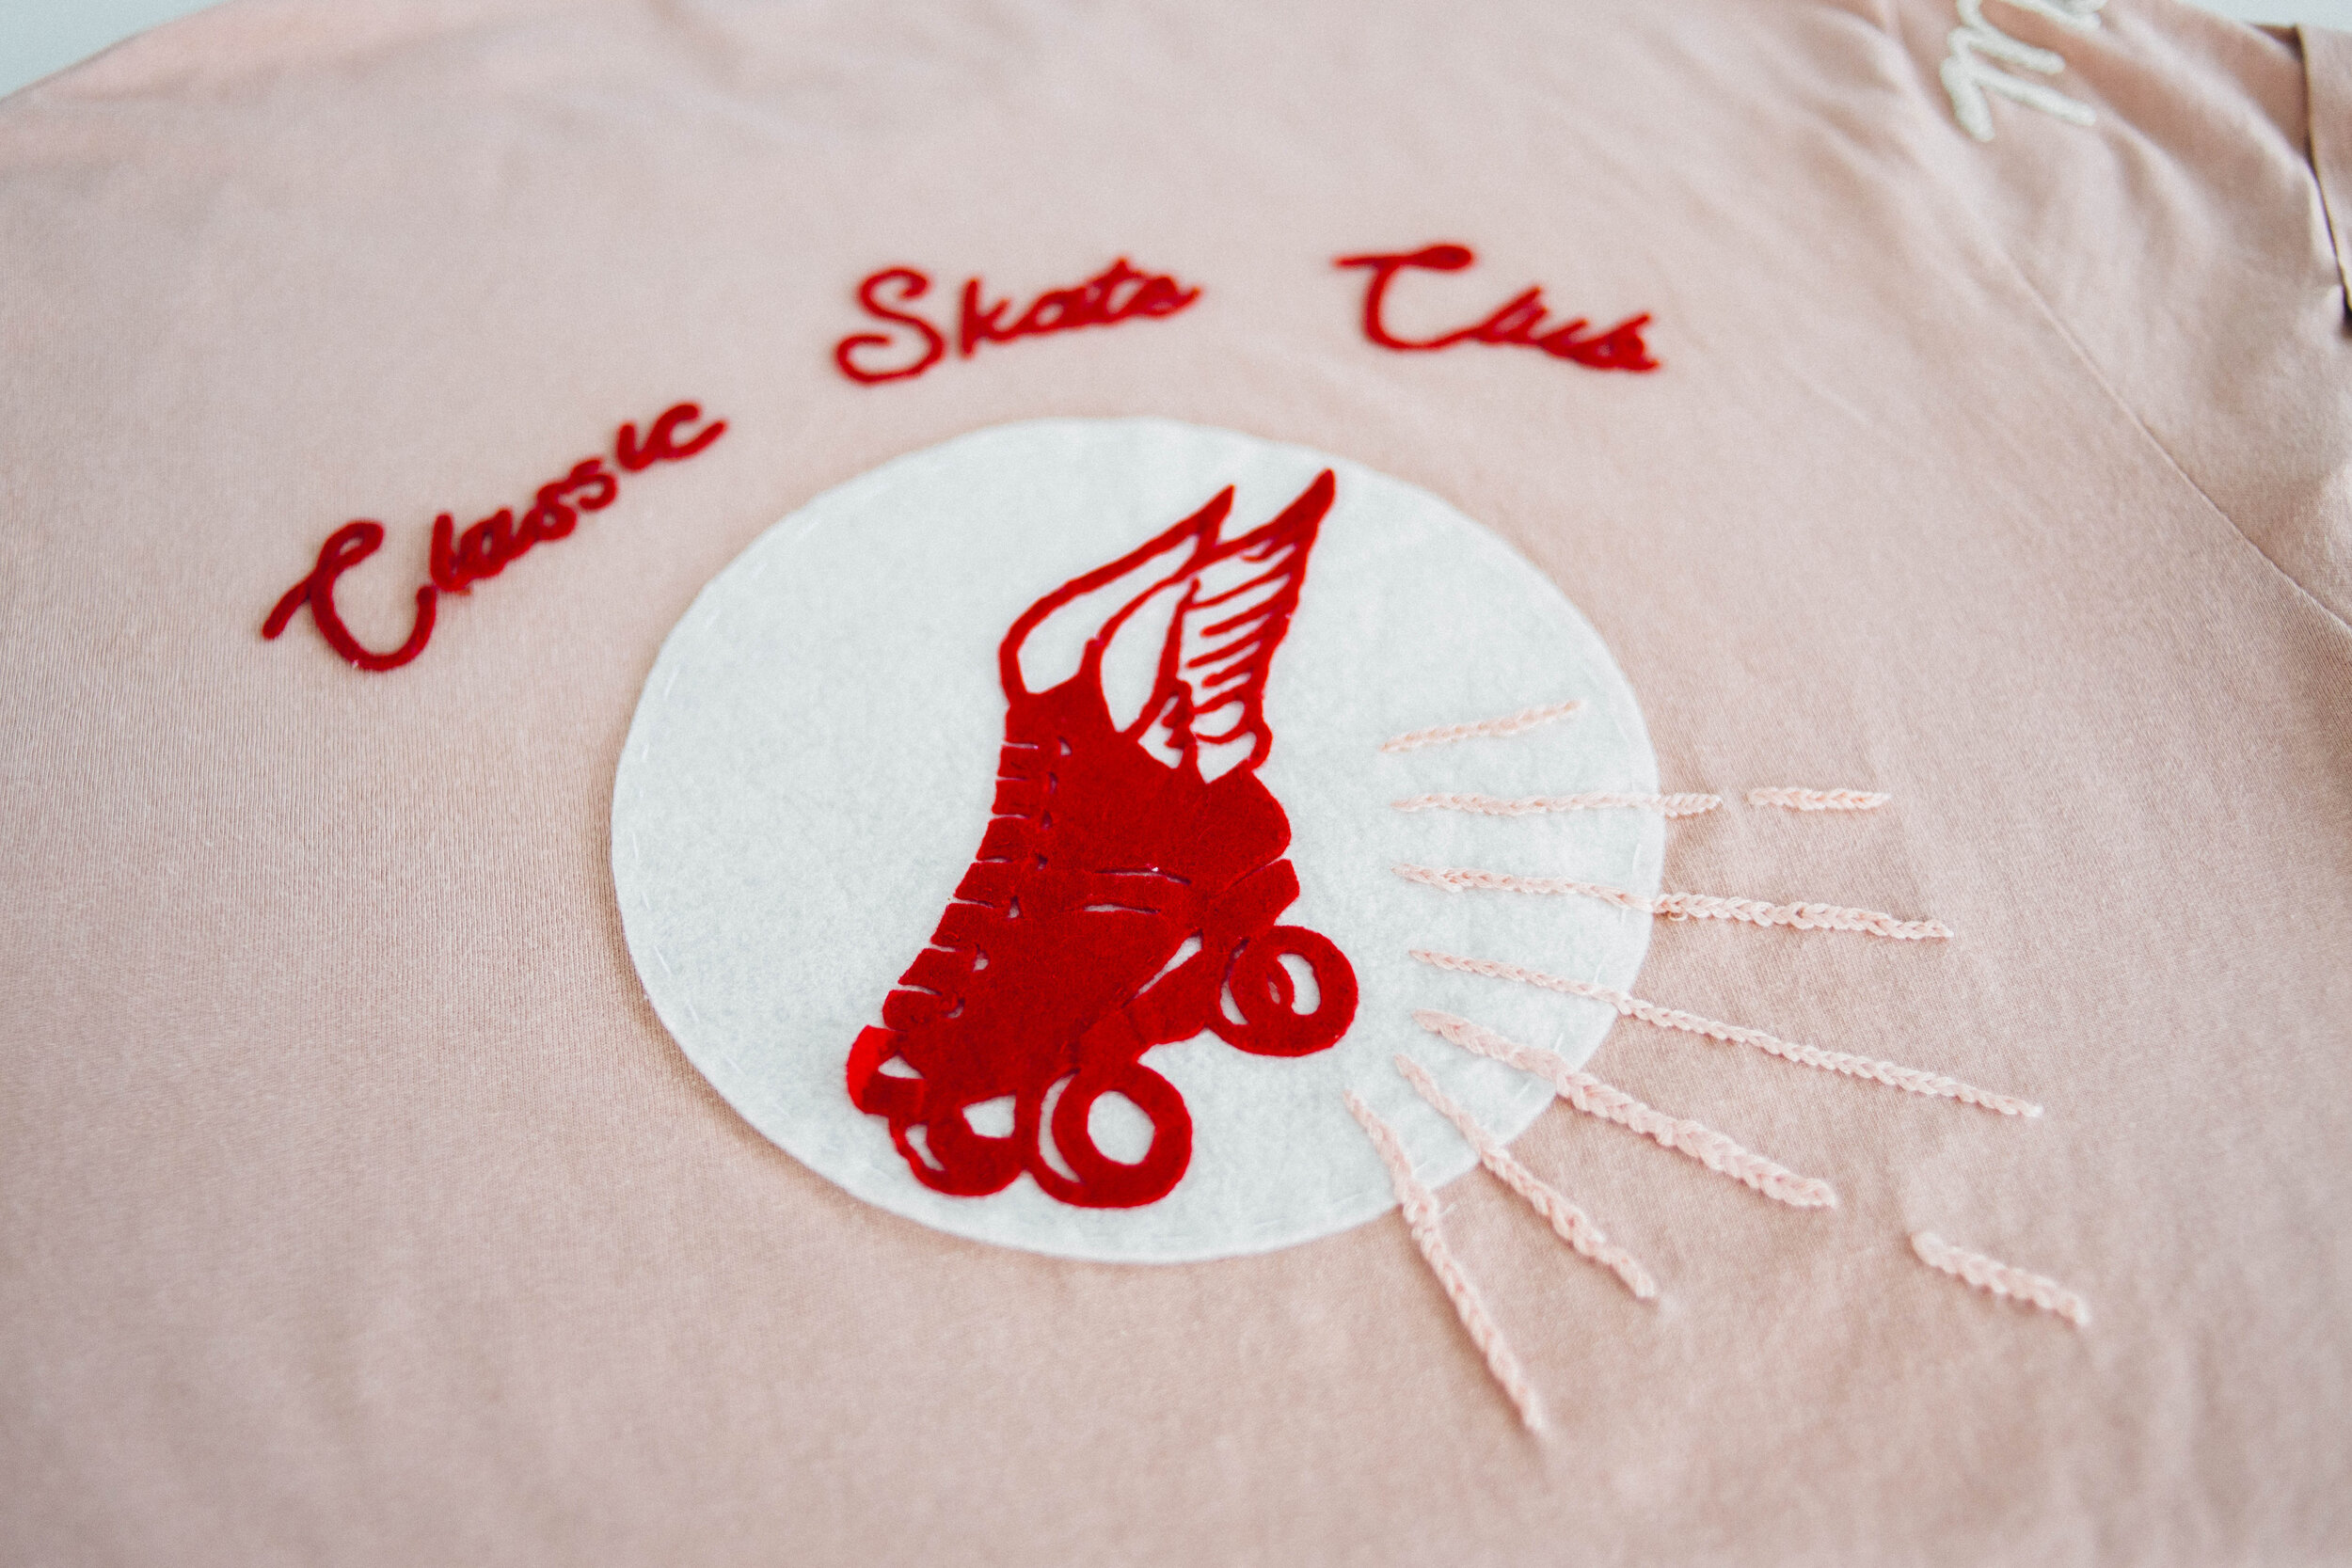
You don’t have to use felt, you can use any fabric you want, but felt is non-stretch, thick, and doesn’t fray, so it’s the most common go-to. Drawing is not my strong suit, so I did a few tricks by using a printer and some paper. I also did this for the words “Classic Skate Club”. Doing this saved a ton of time rather than chain stitching.
Cutting Out
For the words: download a cursive font and type what you want to say, cut out of paper, trace onto felt,
cut out felt.
For the rollerskate: print off a graphic, cut out of paper, trace onto applique fabric, cut out felt.
For the circle: Trace a bowl or plate onto the felt and cut it out.
Mounting the Applique
To attach the applique I just pinned the design in place and then used some standard sewing thread to do some basting stitches around the shirt. I did not use a hoop, I did not use fabric glue. Make sure your clothing is lying flat and relaxed. If you are stitching on a stretch knit, I recommend doing loose, basting stitches, to avoid wrinkles in the shirt. I also did not use a stabilizer on the inside because I didn’t want it to distort the natural shape of the t-shirt.
If you are sewing onto a jacket or woven shirt, you can use a machine straight stitch or zig-zag stitch to mount the design, but I would still use some basting stitches to secure small corners and details and keep the design in place while it’s under the presser foot. I recommend using a fabric stabilizer on the back to keep threads from unraveling.
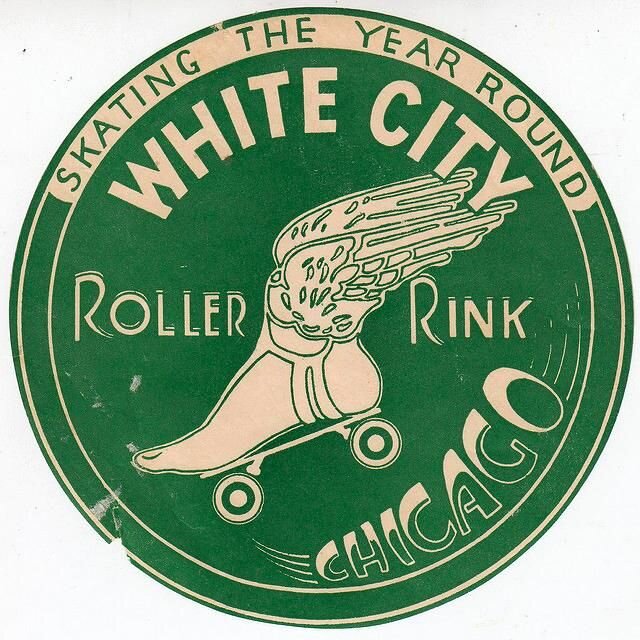
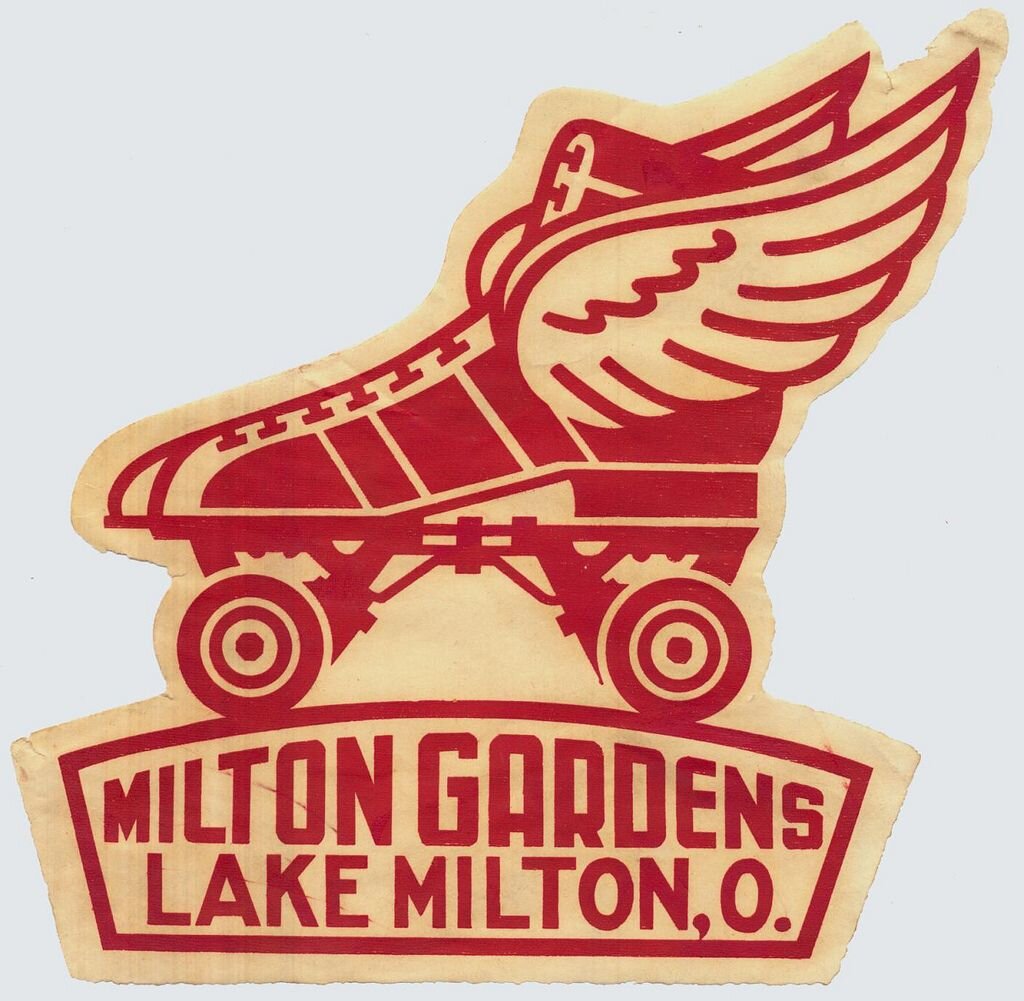
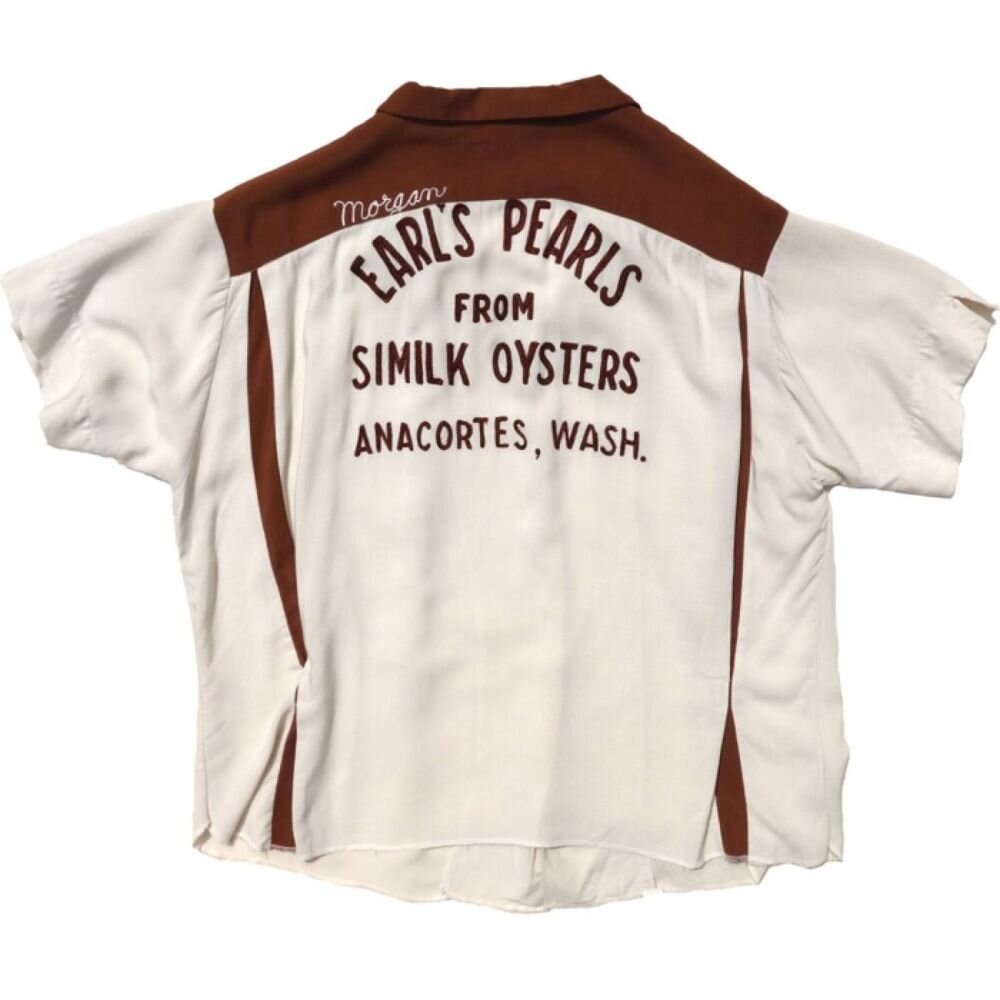
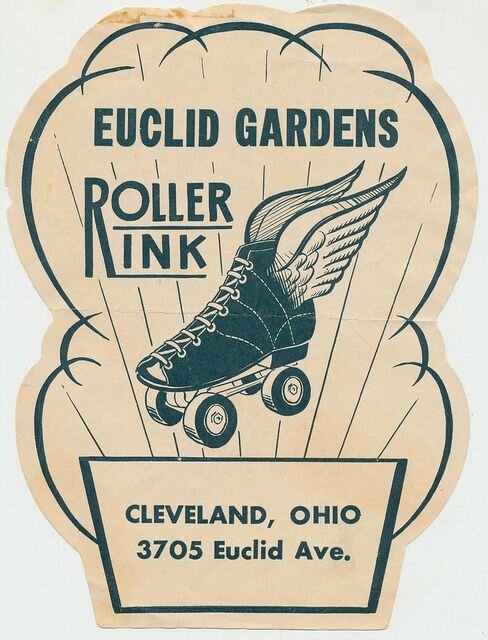
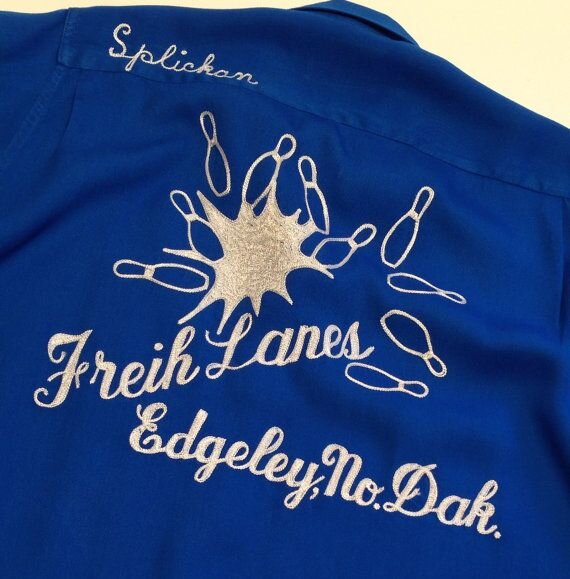
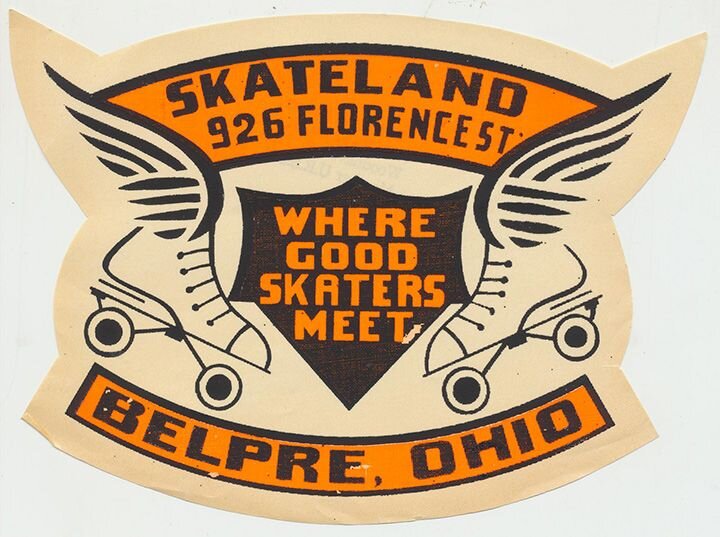
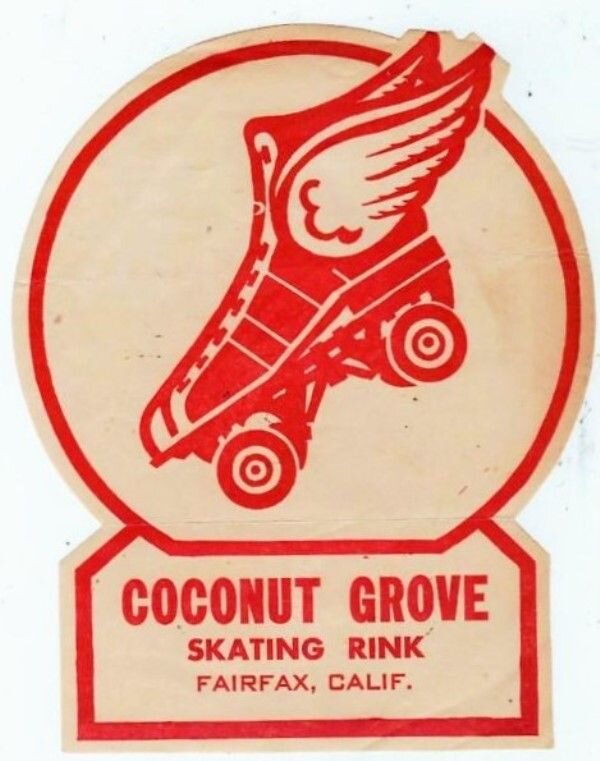
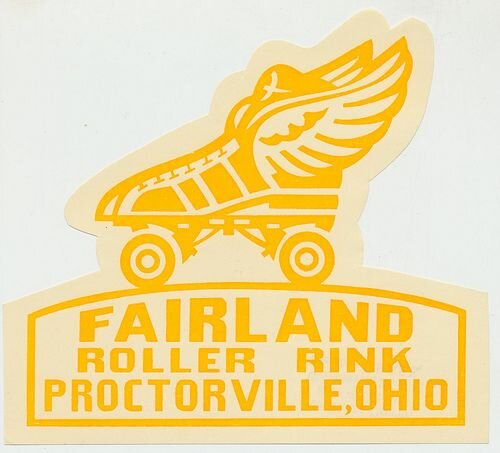
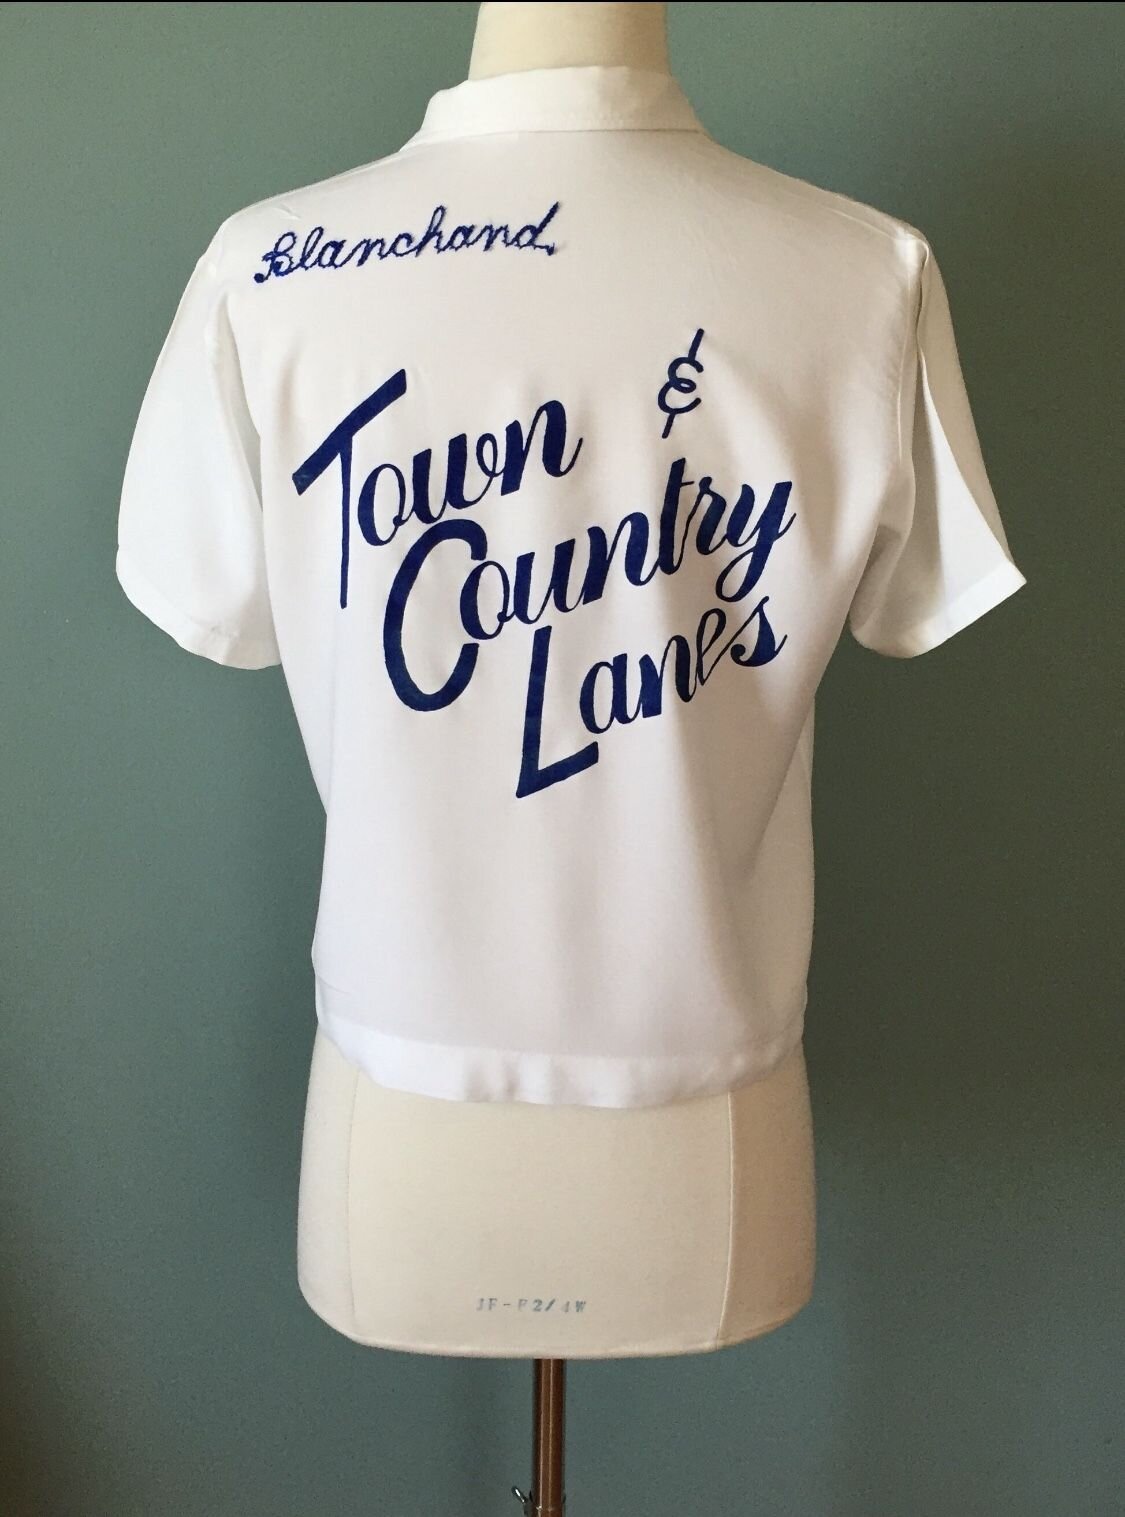
Inspiration
These photos are where I got inspiration for my project. Some of these graphics might be useful. The photos link to my pinterest board of even more cool rollerskating graphics you can use to get some ideas.
If you don’t have a rollerskating nickname there are some pretty funny name generators you can find by searching on google or have your friends give you one. Good Luck! Thanks for reading! You can always comment or email me if you need any help or have any questions about this project.